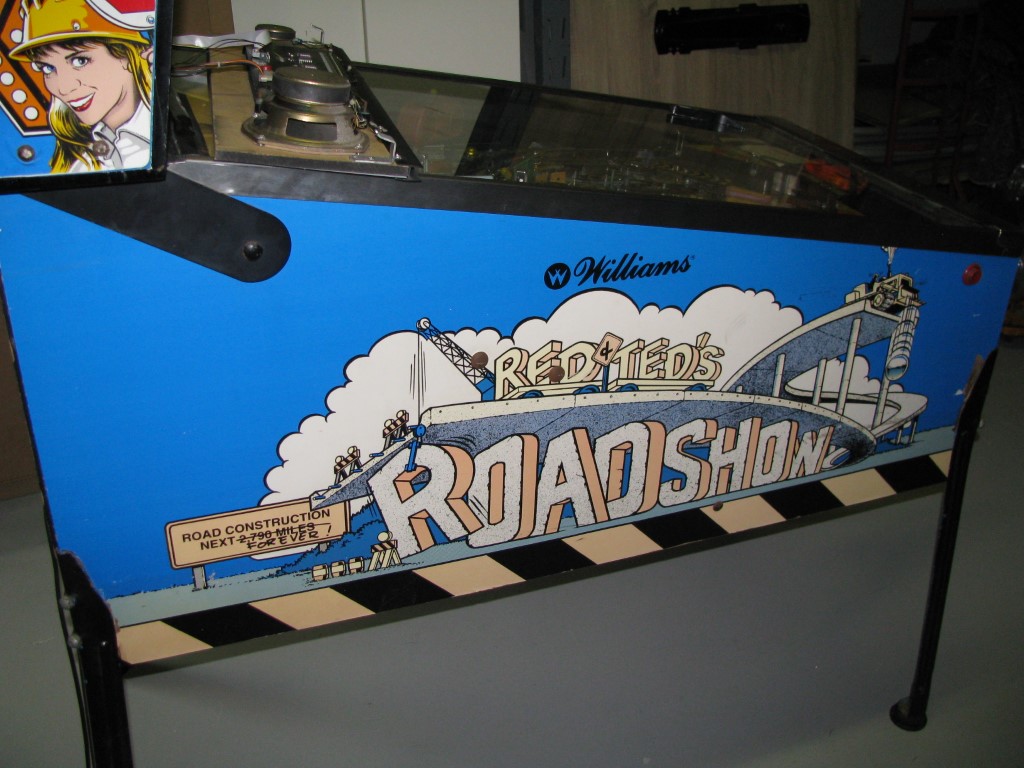
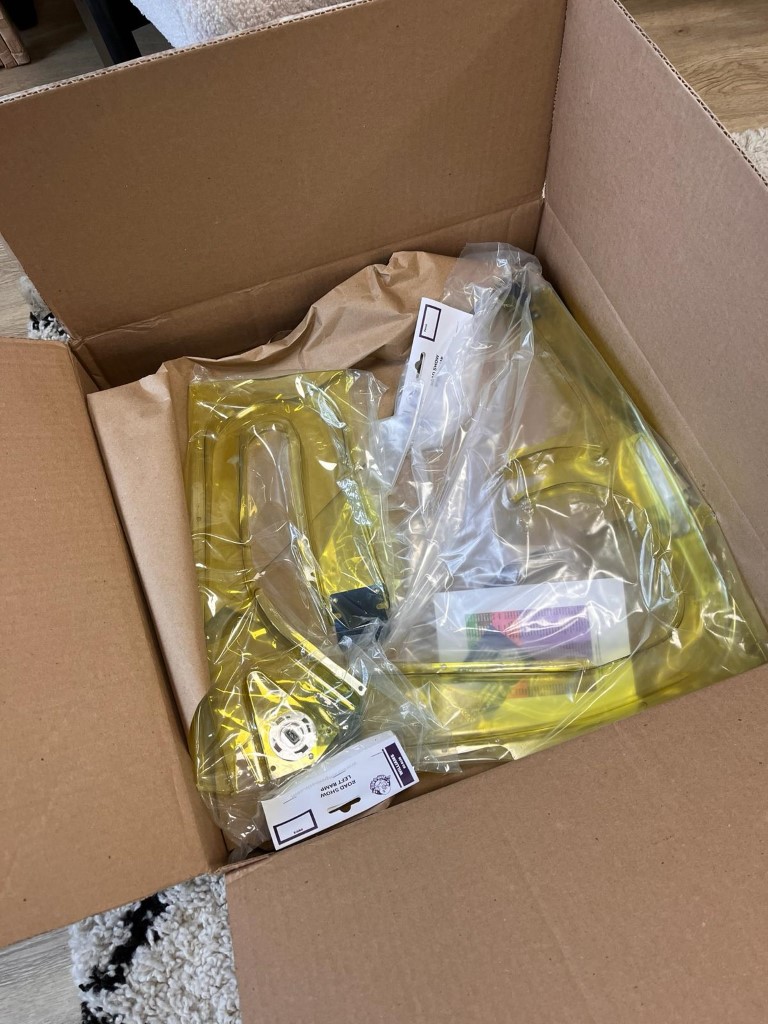
In 2020 or so, my pinball-restoration-mate Ruud and I acquired this 1994 Williams Roadshow pinball machine in a very rough and non-working condition. It’s easy to underestimate the amount of work that will go into restoring such a machine when you’re doing a quick inspection at the sellers house, but with this one we were really in for a treat (in a negative sense).
Initial inspection: water damage, electronic hacks and missing parts
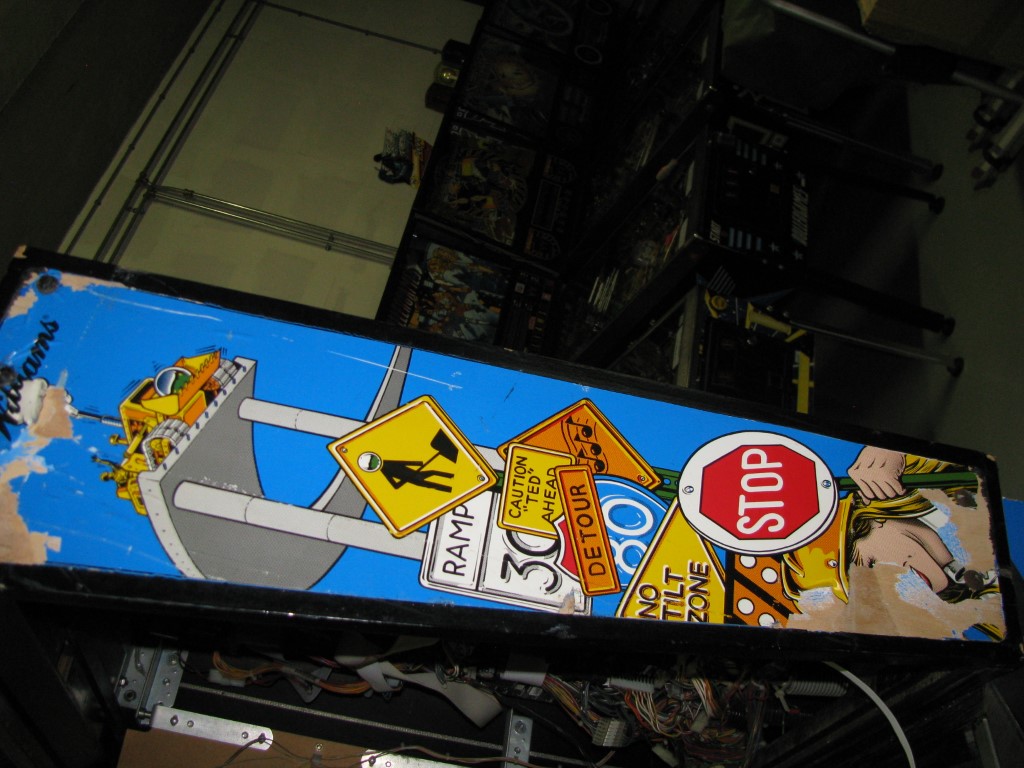
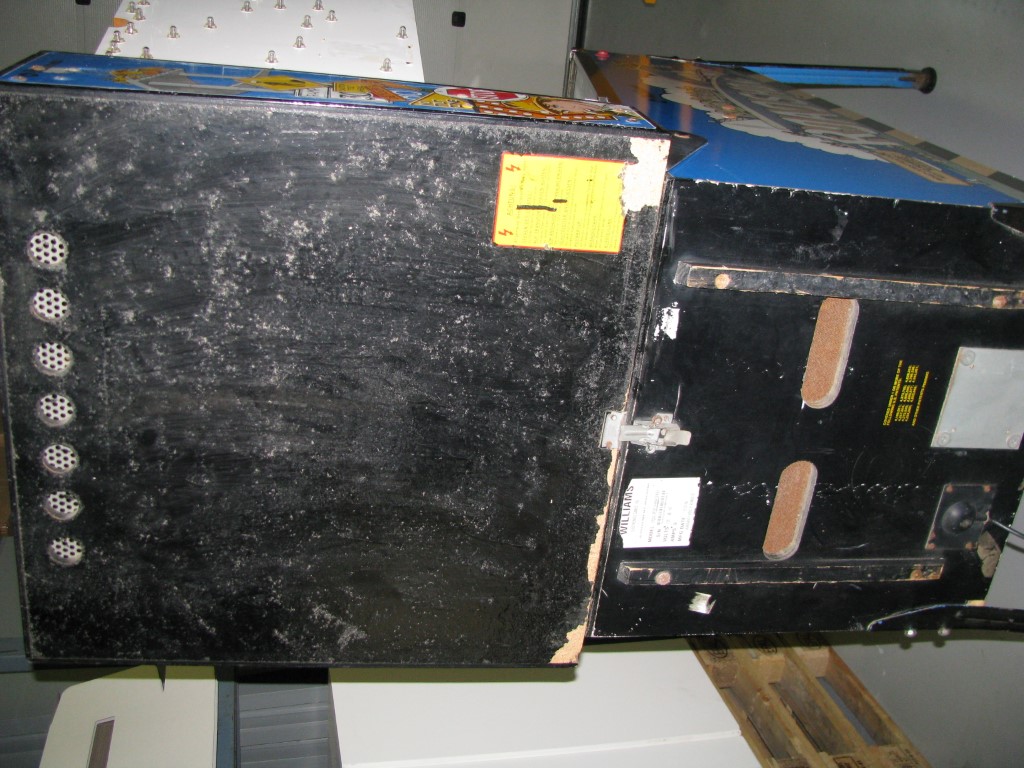
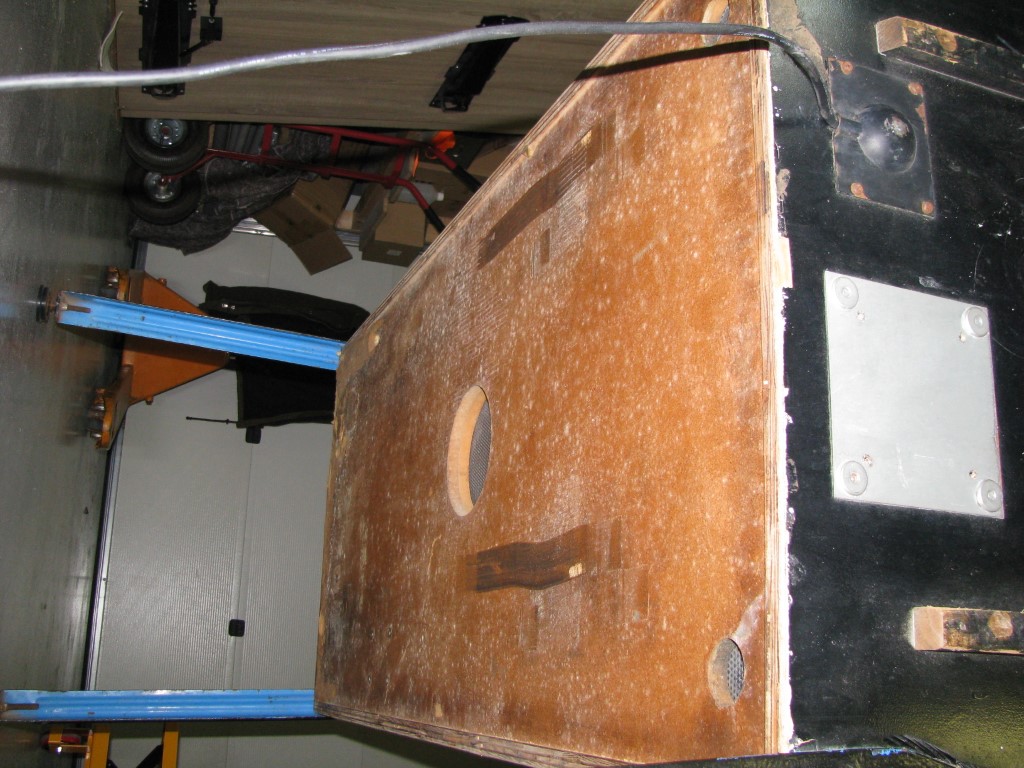
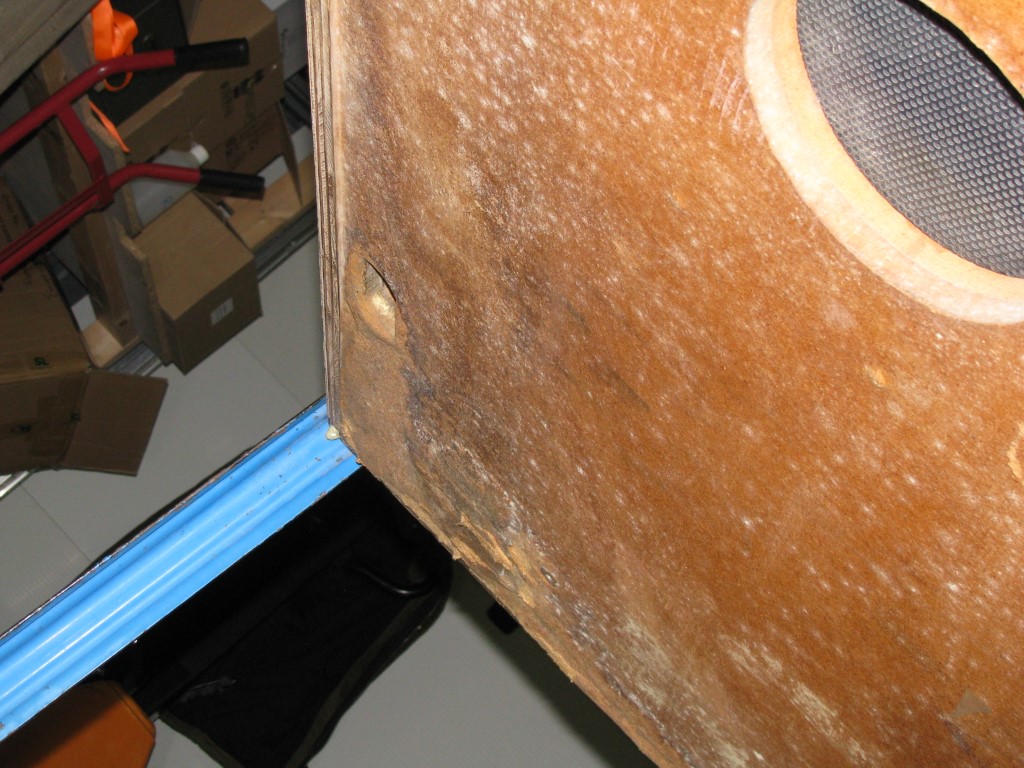
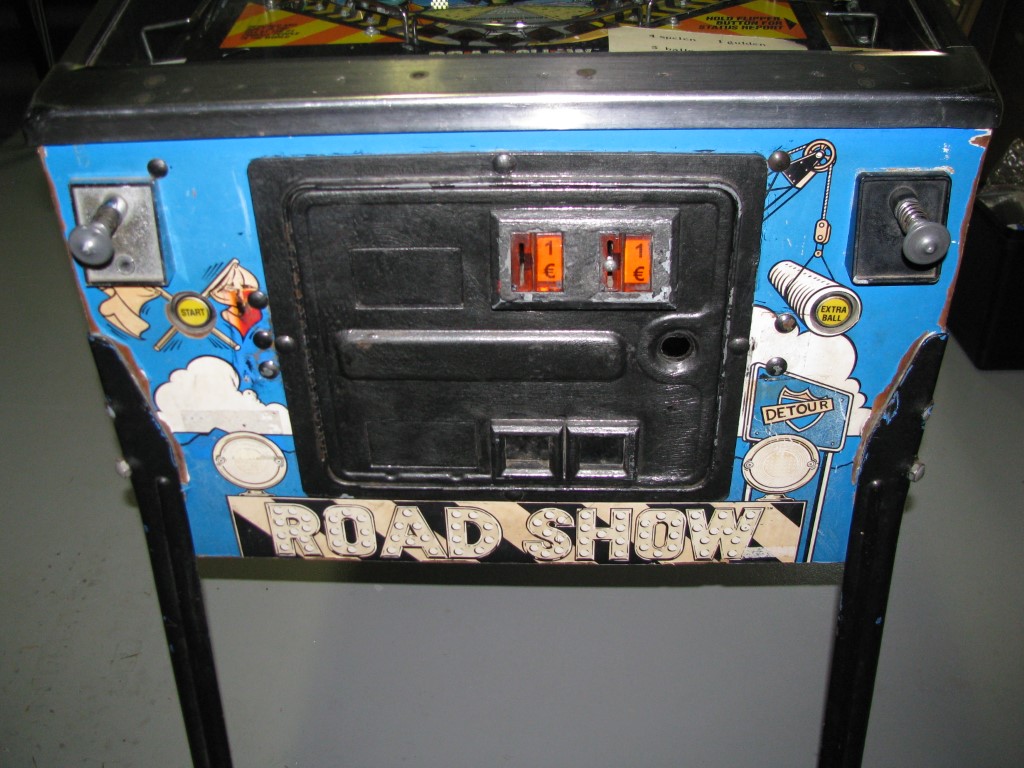

The bottom of the cabinet and backplate of the backbox were heavily water damaged. The cabinet artwork was sun-faded, and the cabinet itself lacked structural integrity. It would wobble on the (badly painted) legs, which were also missing a few leg bolts. The ones that were there were mismatched.
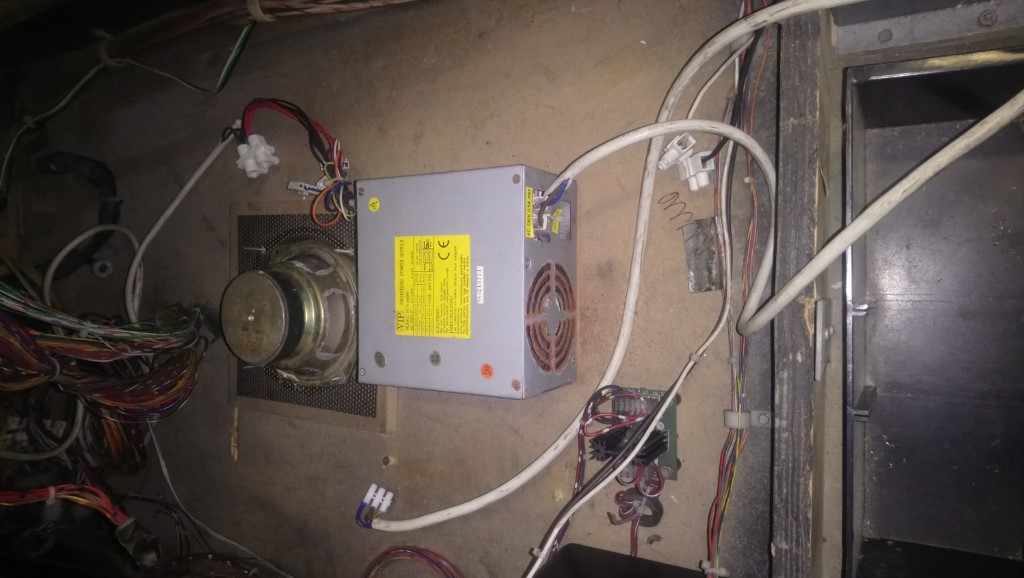
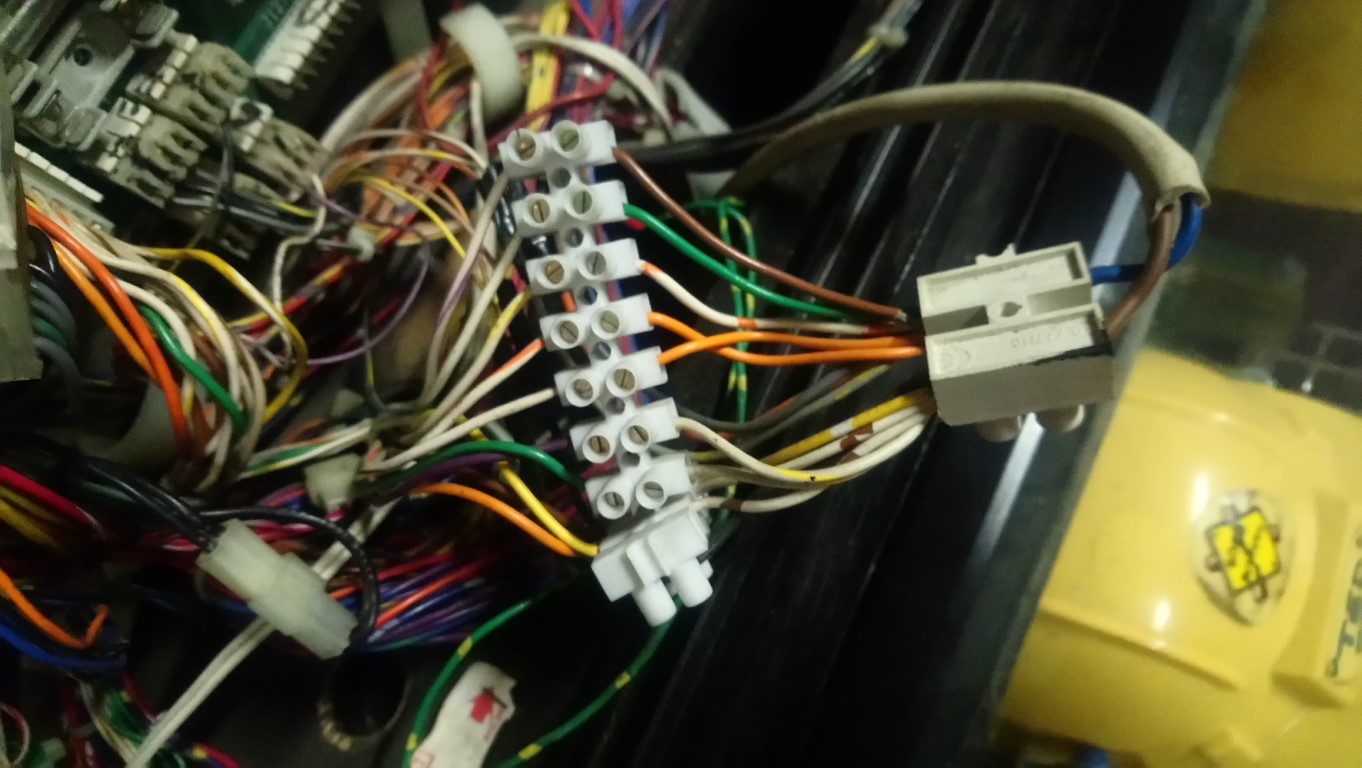
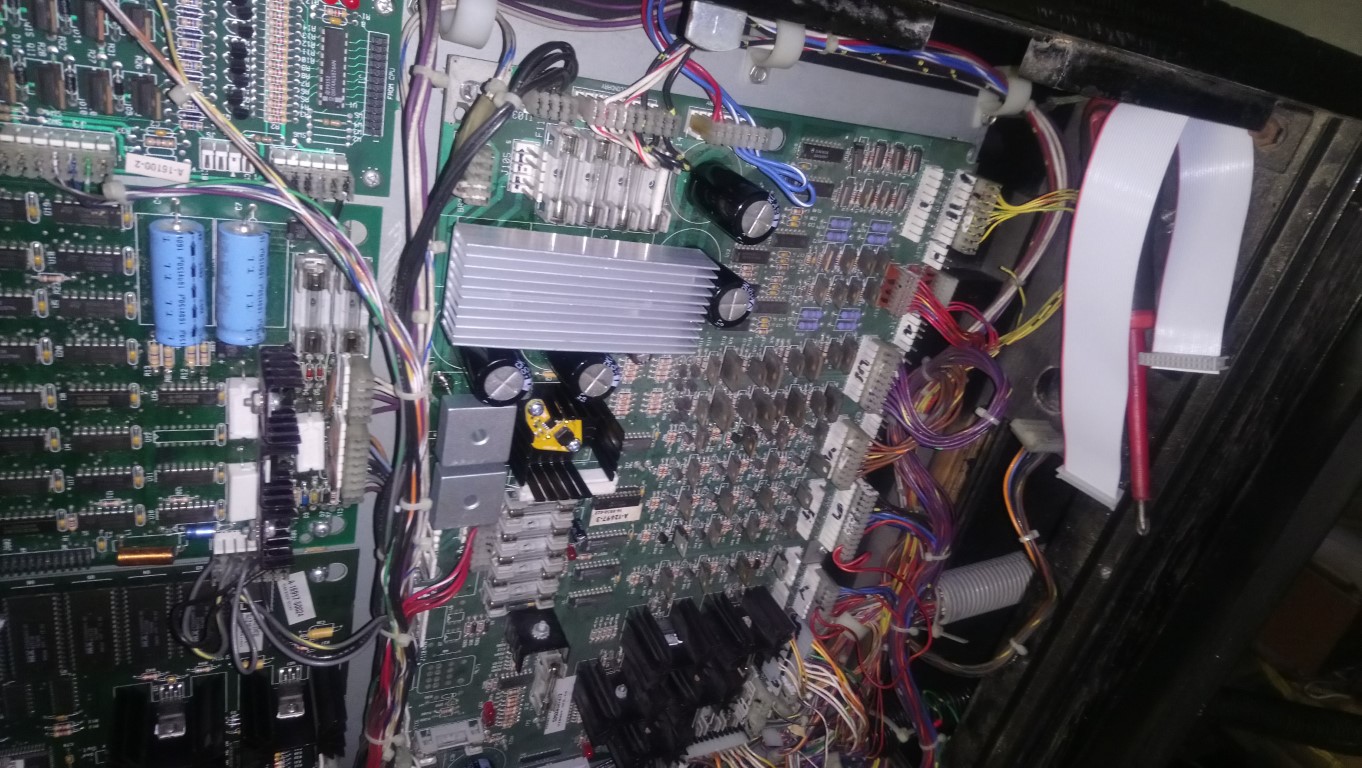
Electronically there were a lot of hacks. A regular ATX computer PSU was hacked into the wiring loom using terminal blocks, and mismatched colored wires were connected together. The main (MPU) board was missing, all the flatcables were missing, and the power driver board was hacked up and missing the 5 volt regulator.
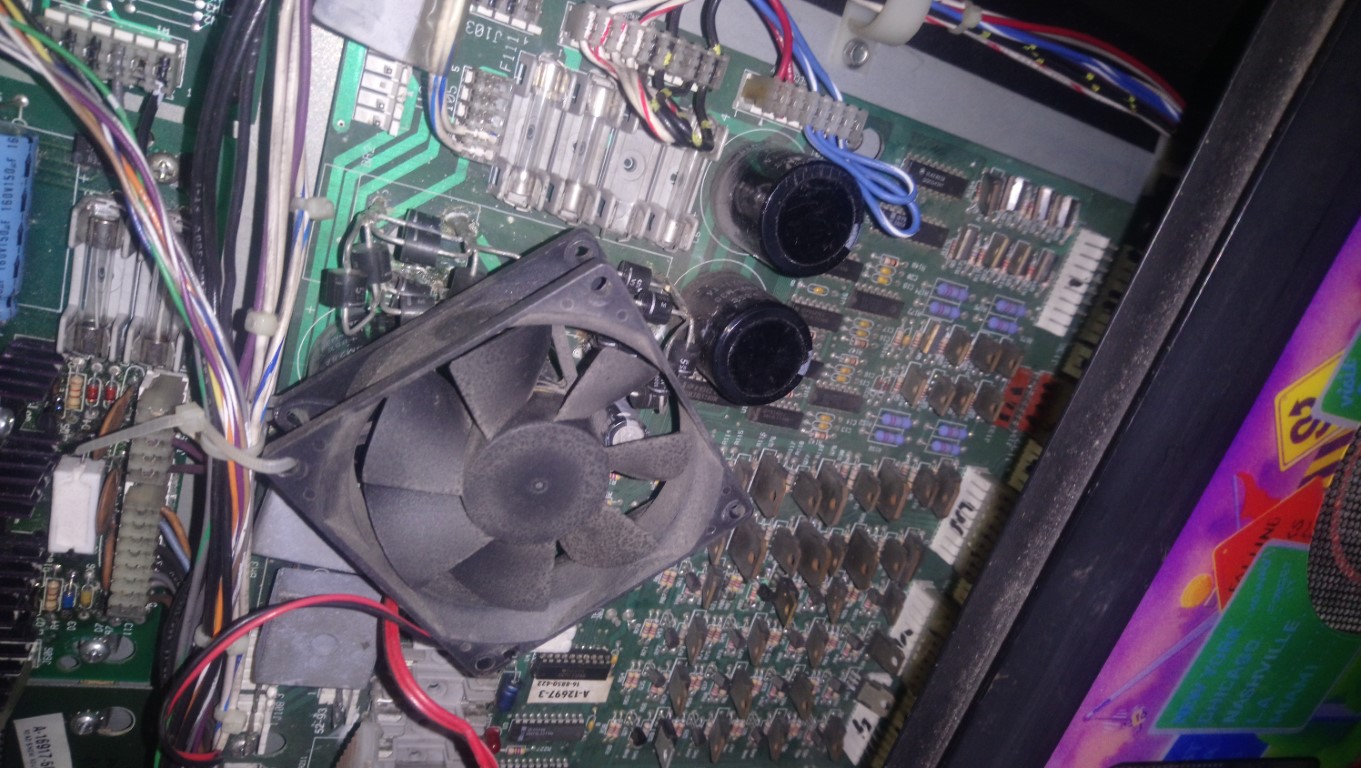
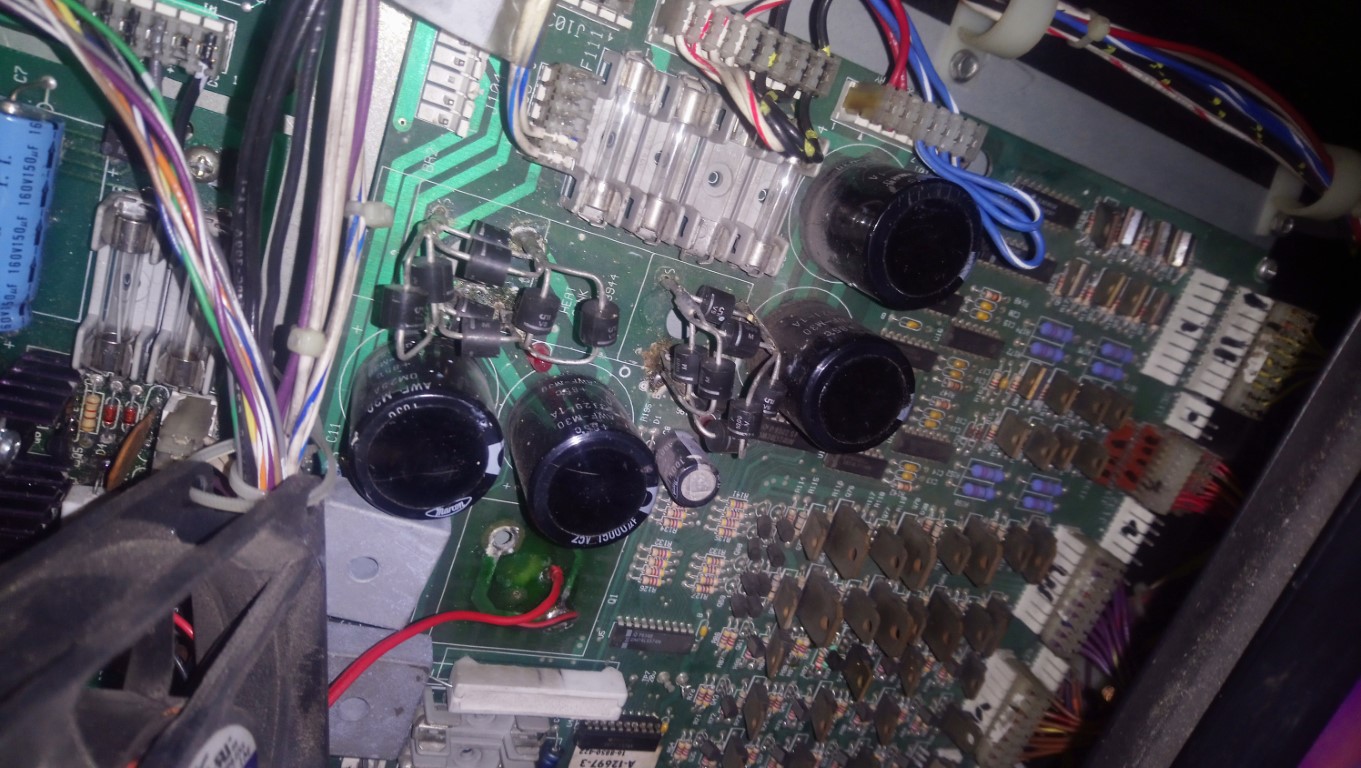
A special shoutout goes to the “rectifiers” on the power driver board, that were just a bunch of diodes soldered together, with a computer fan ziptied to the cable harness to help cool it down.
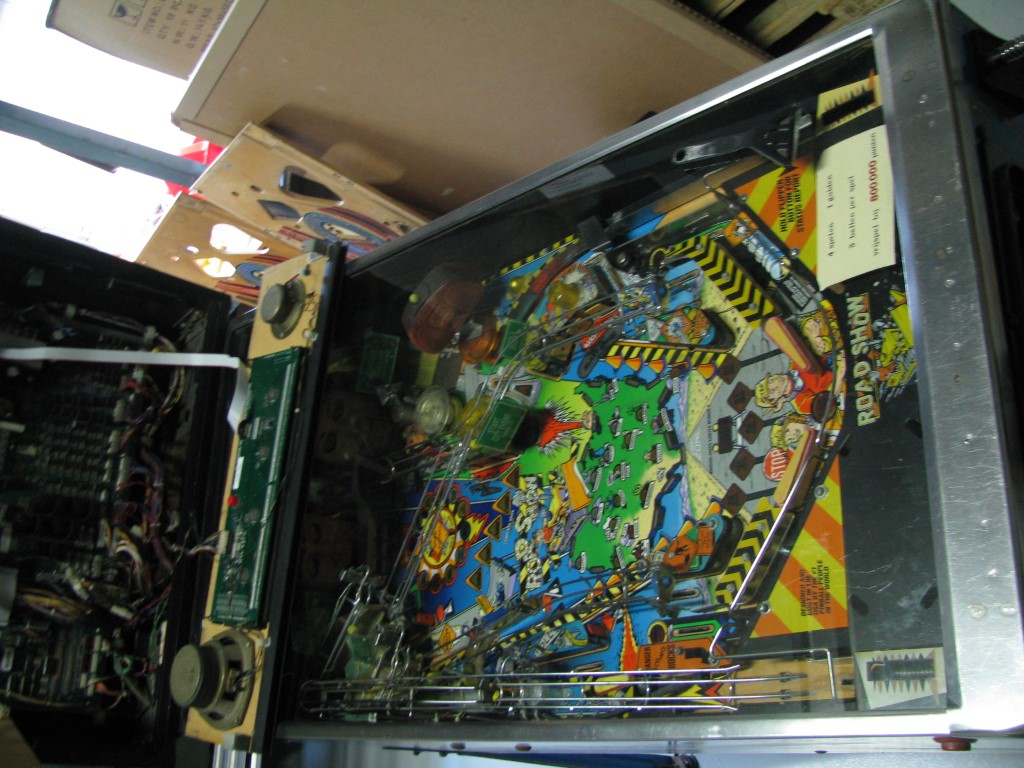
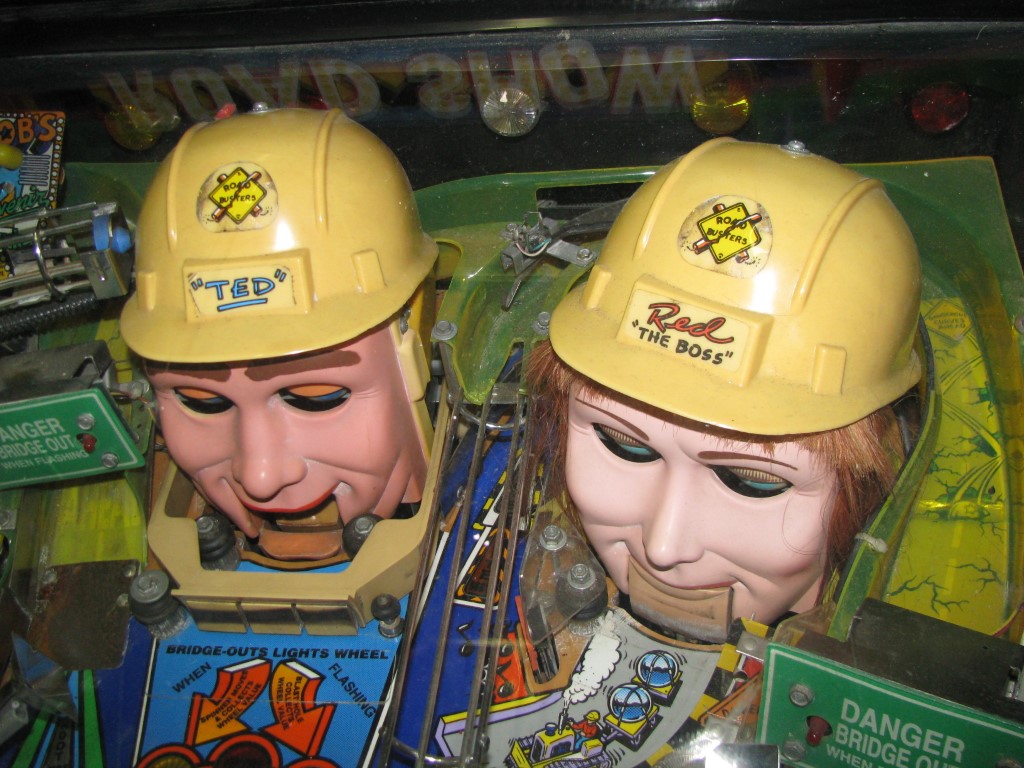
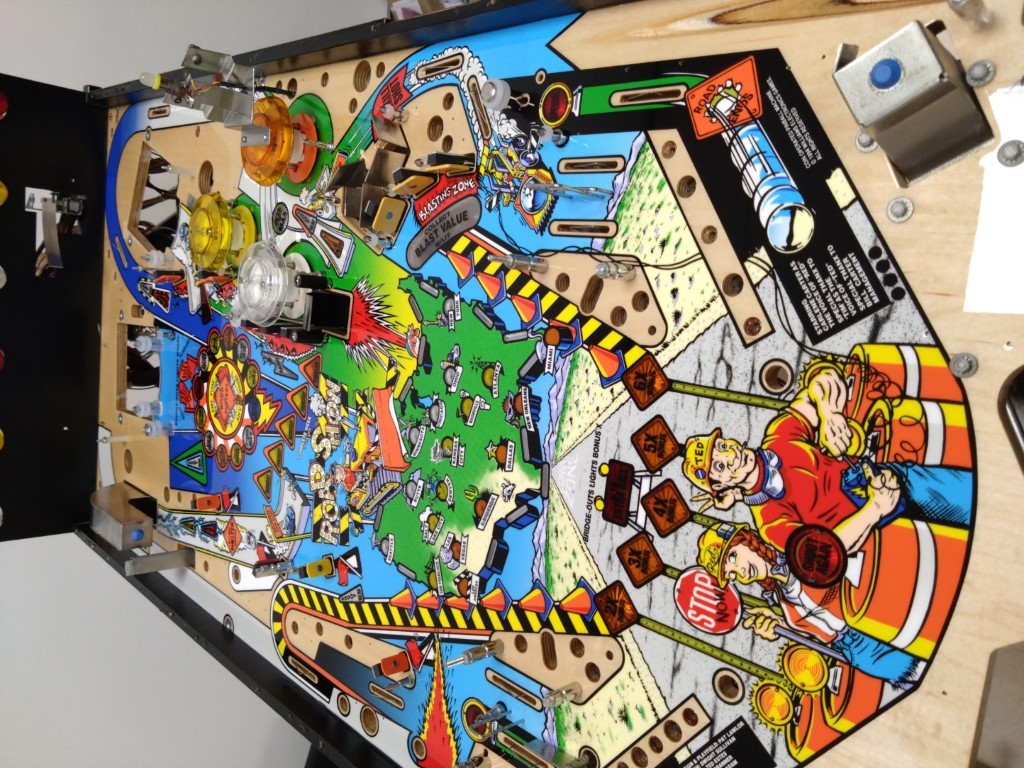
The playfield itself wasn’t too bad, but the toys on the playfield such as the hardhats and radio were sun-faded. It seemed like the ramps actually got melted from heat. This thing must have been standing in the blazing sun for several years! Making it odd that the playfield was in relatively good shape.
Getting it to work
Before starting the restoration process, we always like to get the machine (mostly) working first. That way we know that if it doesn’t work anymore after restoring it, it must be something (small) that we forgot or caused ourselves.
First order of business was obtaining the missing MPU board, ROMs and the rare “security chip” to make it work. We managed to source everything from various places, and luckily it wasn’t that expensive.
De-hacking the power driver board
I posted a few photos of our hacked board to the Pinside forum. They have a special thread for the purpose of poking fun at the various hacks we find in machines, it definitely got some laughs, and people saying this board is done for.
Challenge accepted. I’ve replaced the rectifiers, recapped the board and replaced the missing LM323K 5-volt regulator with the PSU5 regulator by EzSBC, because the original LM323Ks are expensive and hard to come by these days. This has the added benefit of being more reliable and generating less heat.
The board still required some hacks and jumper wires to make it work because a lot of pads were lifted and traces were broken.
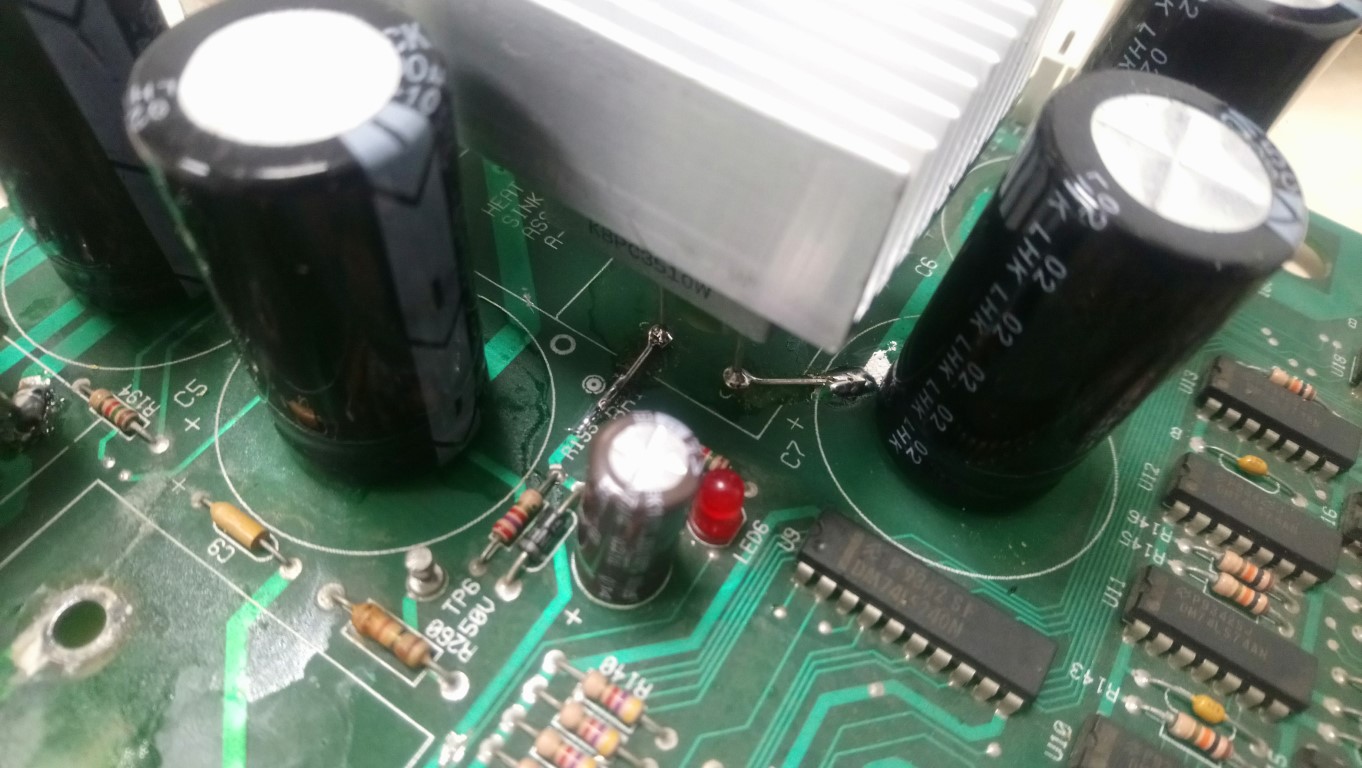
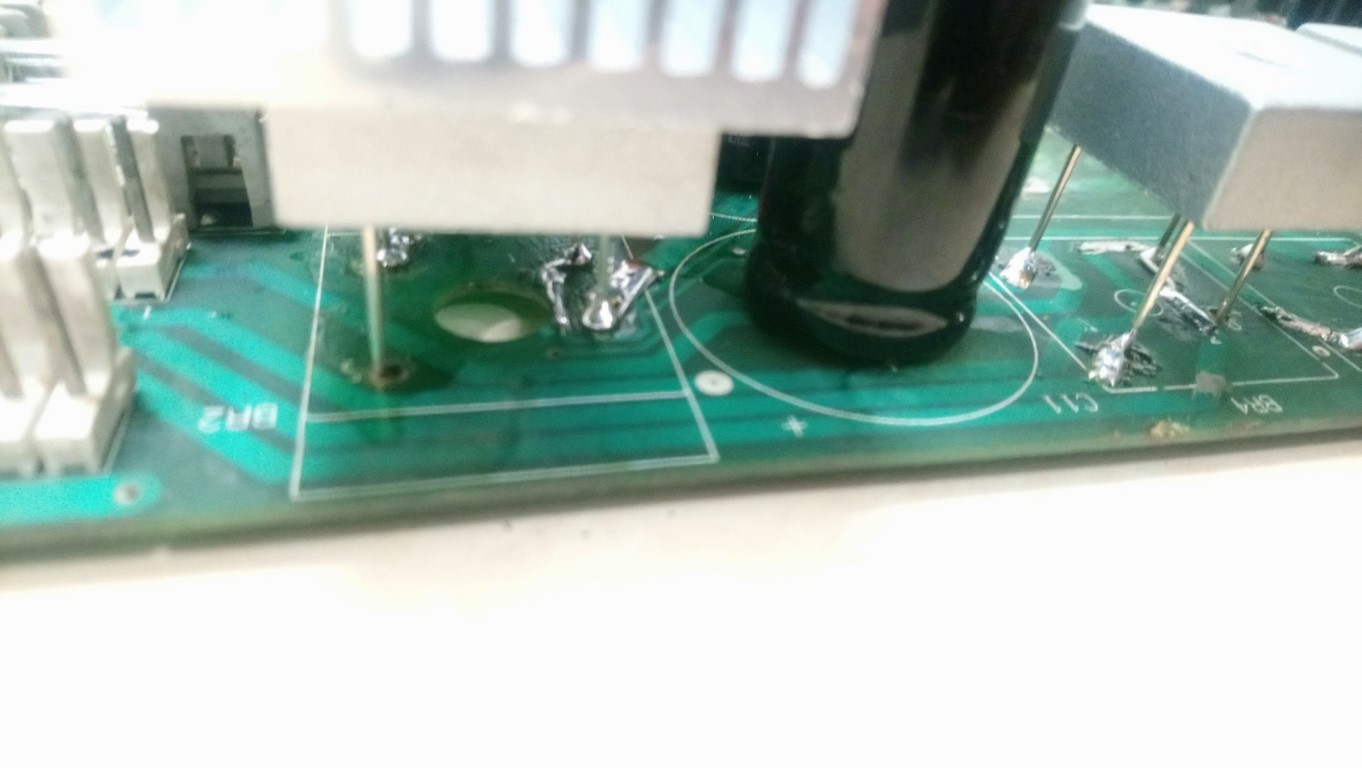
The heatsink for the rectifiers was also missing and hard to find (I mean, why would anyone ever need to replace that?!). So we’ve ordered a generic heatsink of about the same dimensions from AliExpress and drilled & tapped holes in it to attach it.
After troubleshooting some issues the board was working.
De-hacking the wiring harness
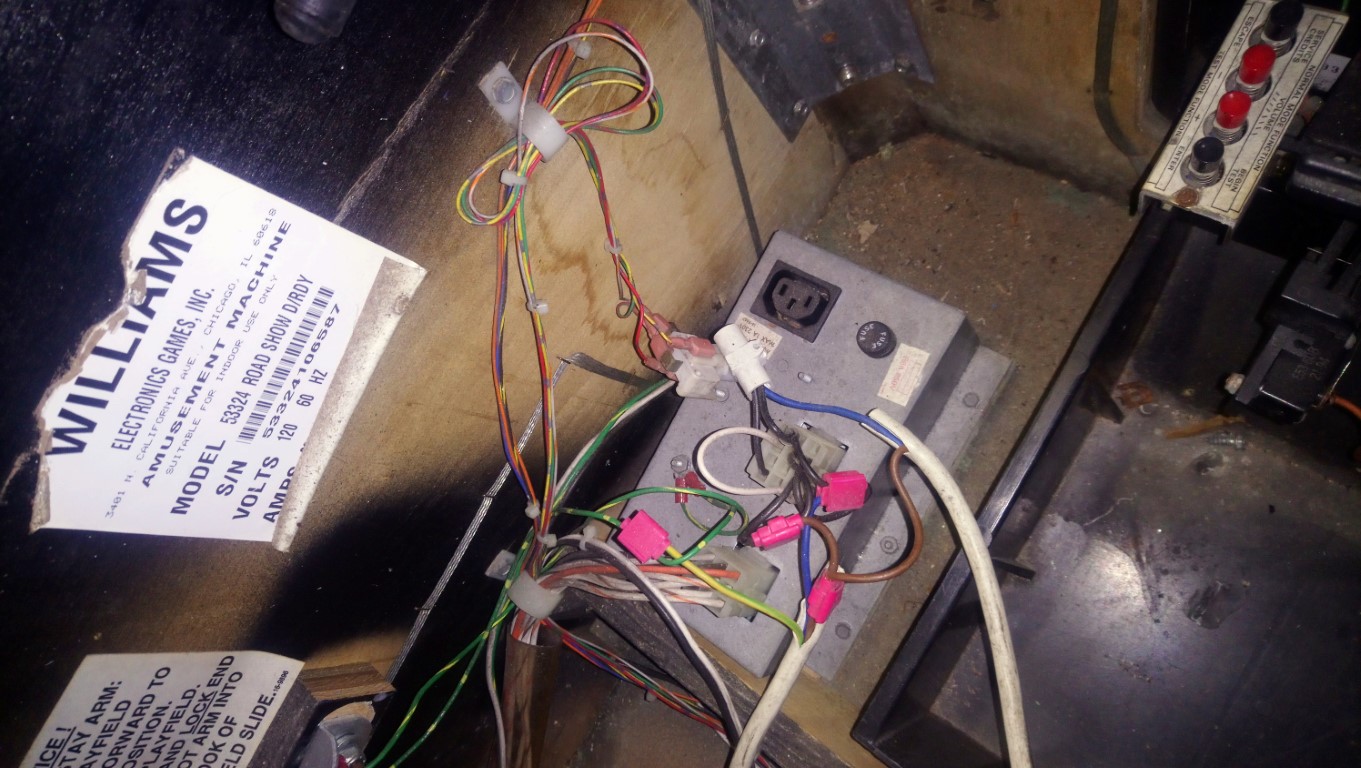
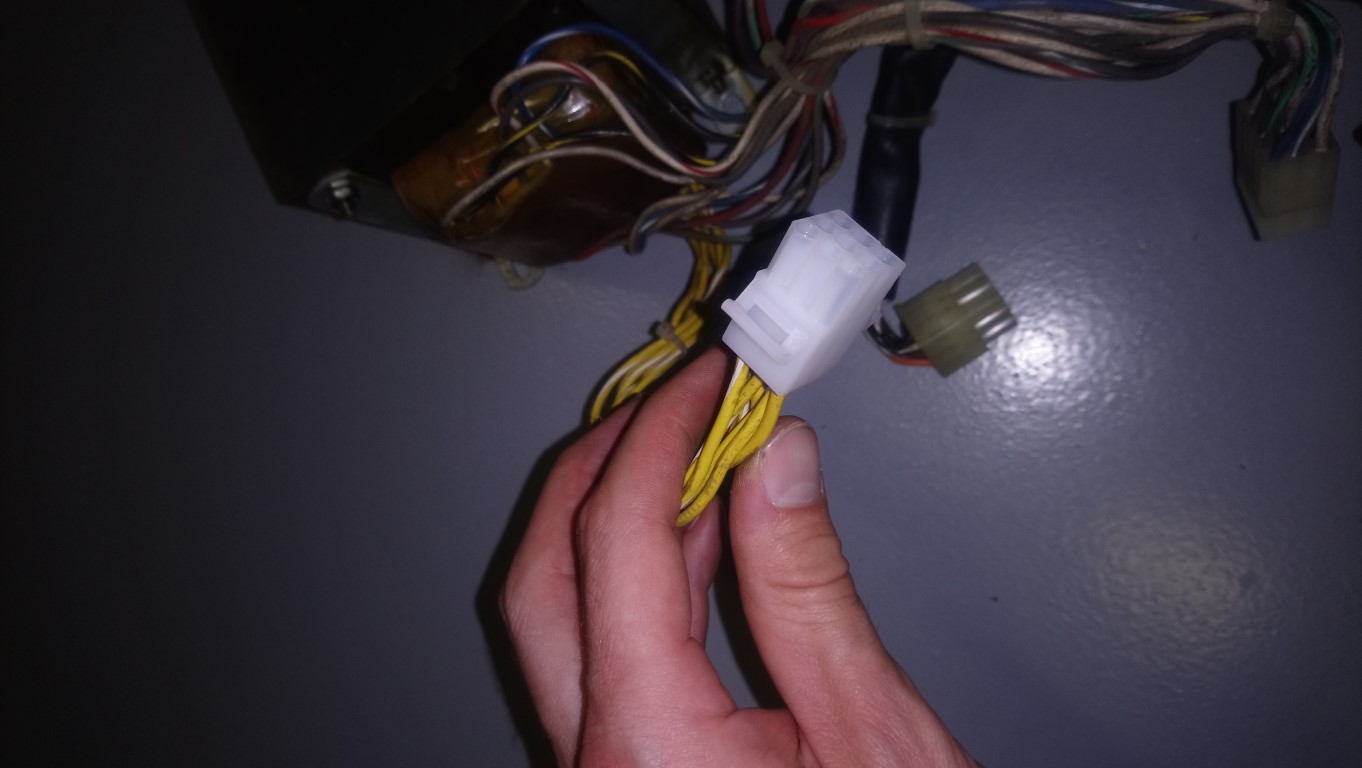
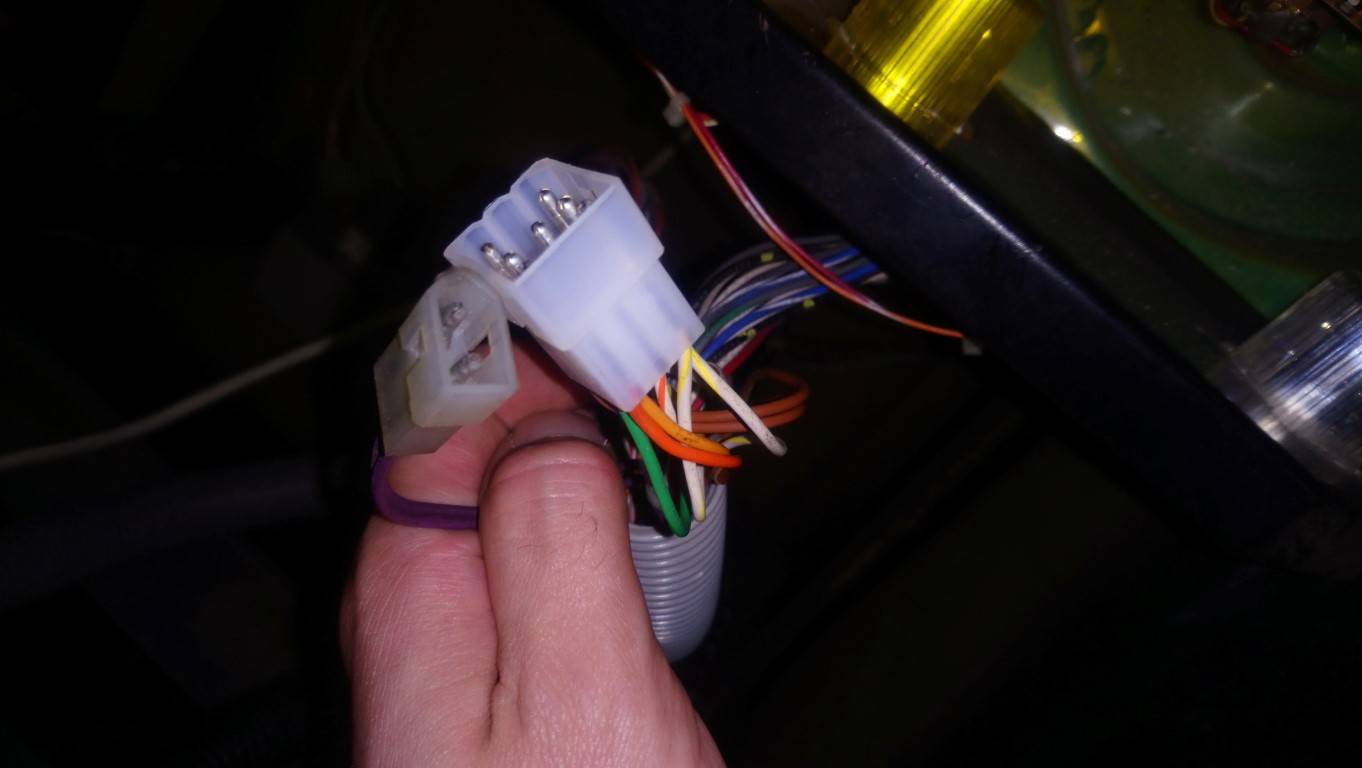
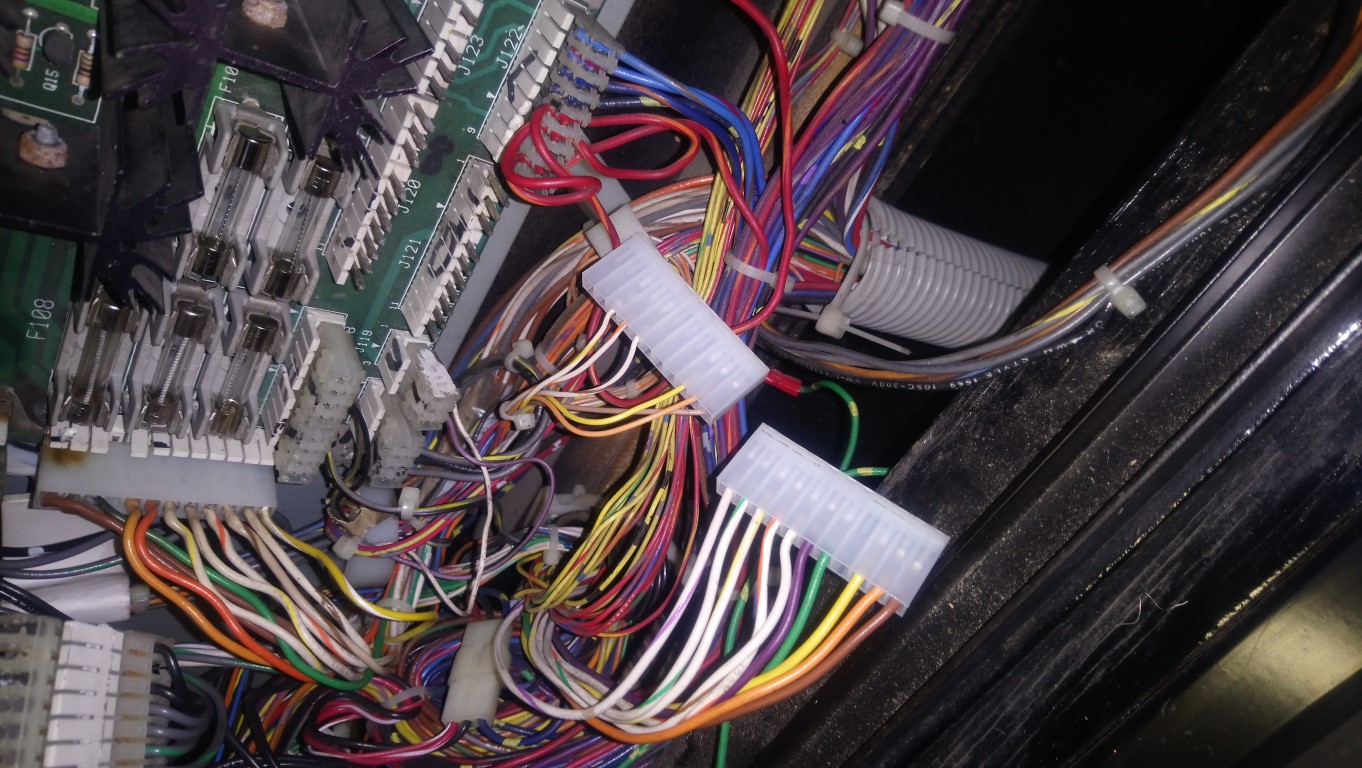
The wiring harness had hacks everywhere, loose wires, broken connectors, terminal blocks to wire things together, it was a mess. I’ve untangled everything, replaced the connectors, and put everything back the way it was from the factory.
The manual was very helpful in this because it has a few pages in it that detail every connector, the wire colors and where they go.
Making our own flatcables
While a single flatcable isn’t that expensive when its broken or missing, it does add up when you have to buy ALL of them. It was actually cheaper to buy the individual connectors, flatcables and the crimping tool to make them ourselves, than it was to buy a single set of cables for the machine. And going forward we can just crimp our own flatcables! Give a man a fish ‘n all…
Restoring the cabinet
We thought it was a good idea to start restoring the cabinet first. If we had started with the playfield we would’ve probably just put it back in the cabinet when it was ready, and postponed restoring the cabinet indefinitely.
Powdercoating the metal parts
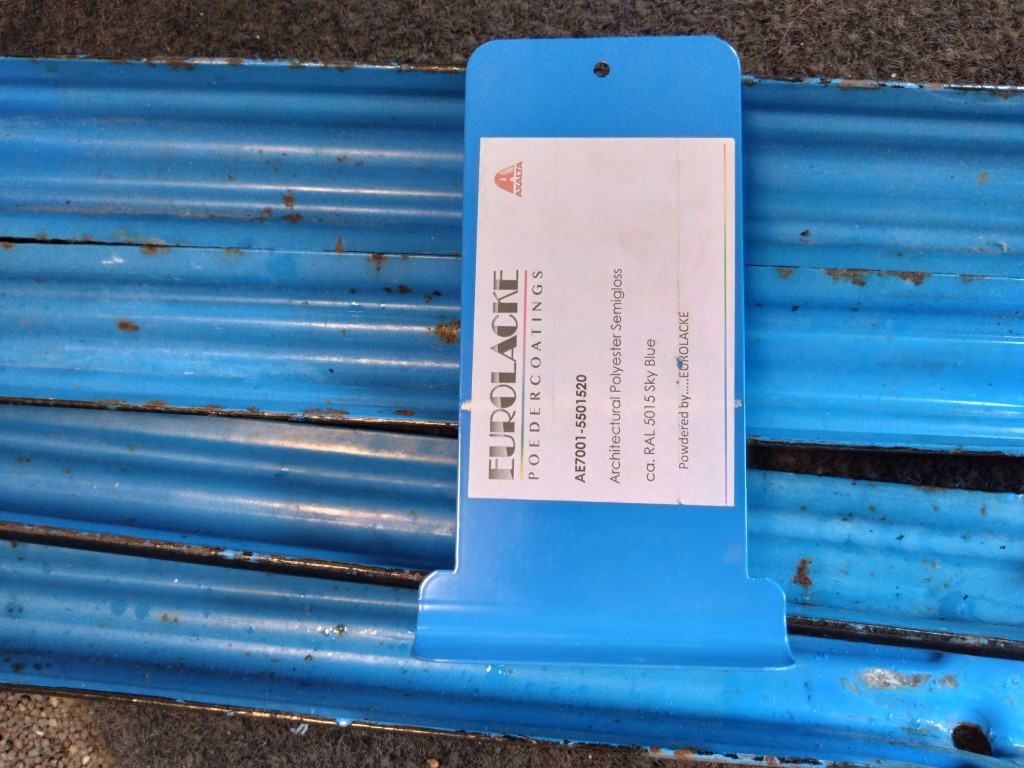
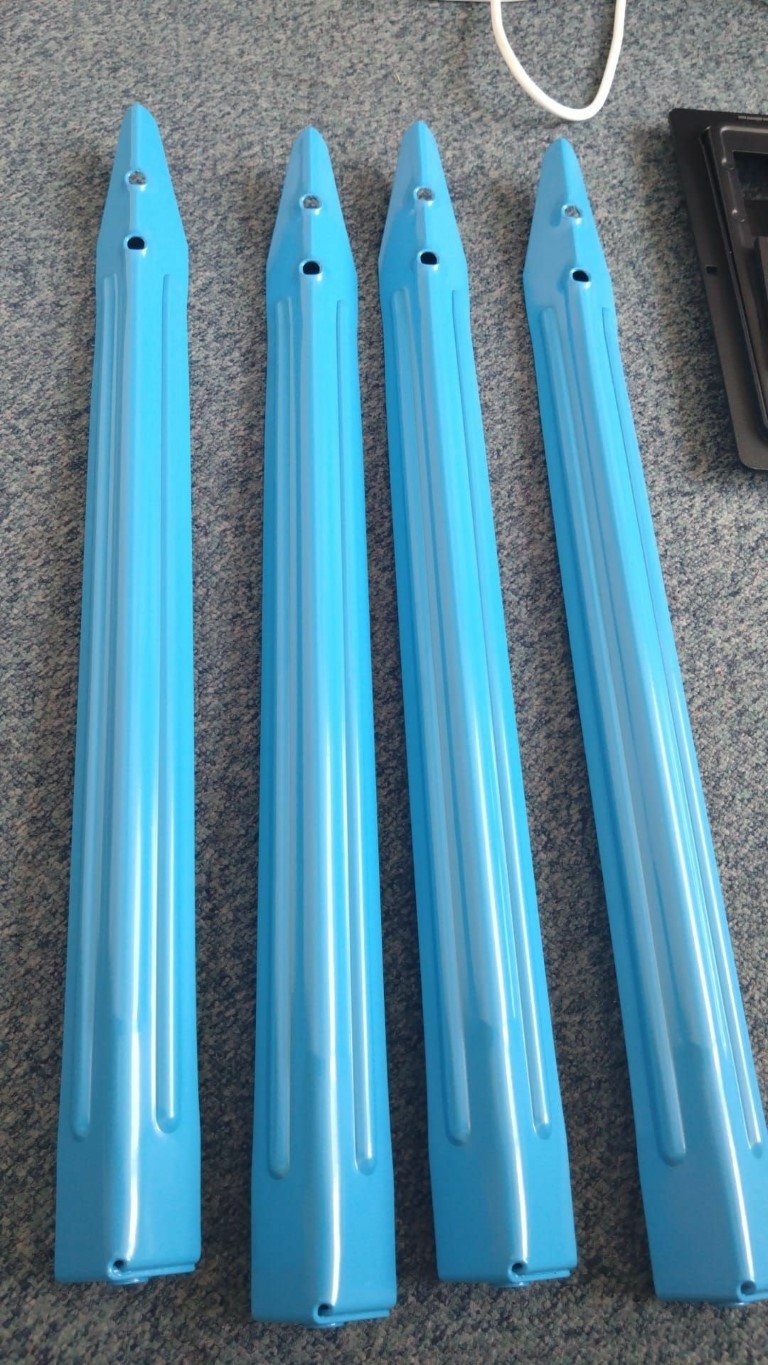
We had the coin door, legs and various other metal bits powdercoated, which was a first for us, and it totally exceeded our expectations. The result was amazing!
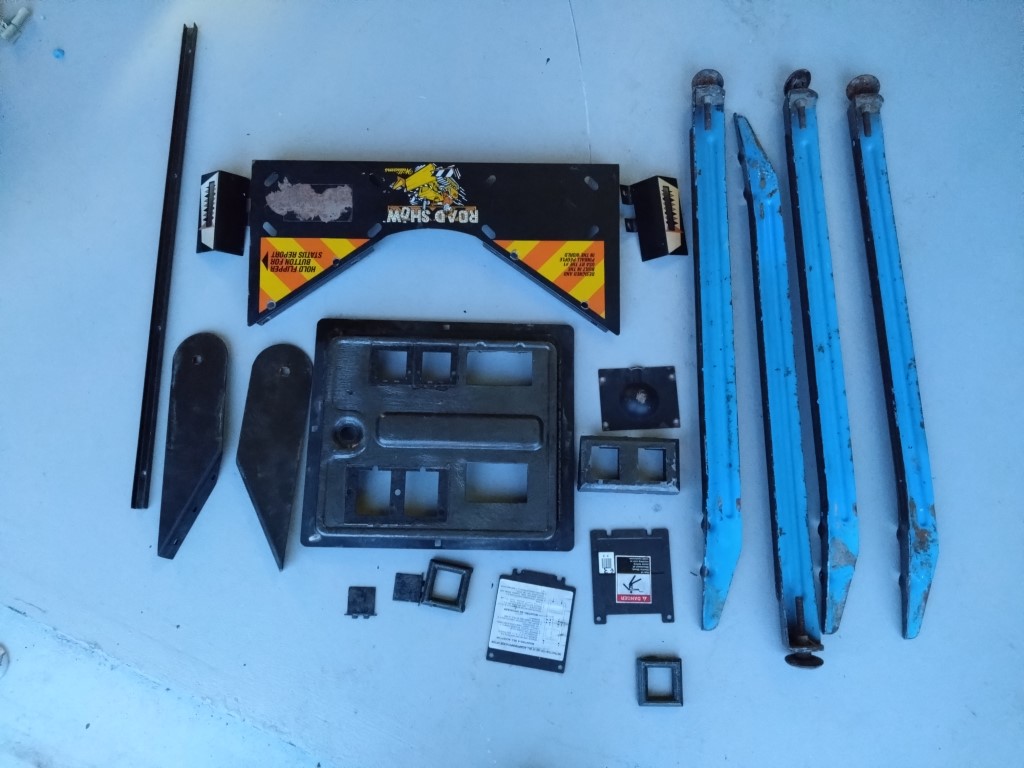
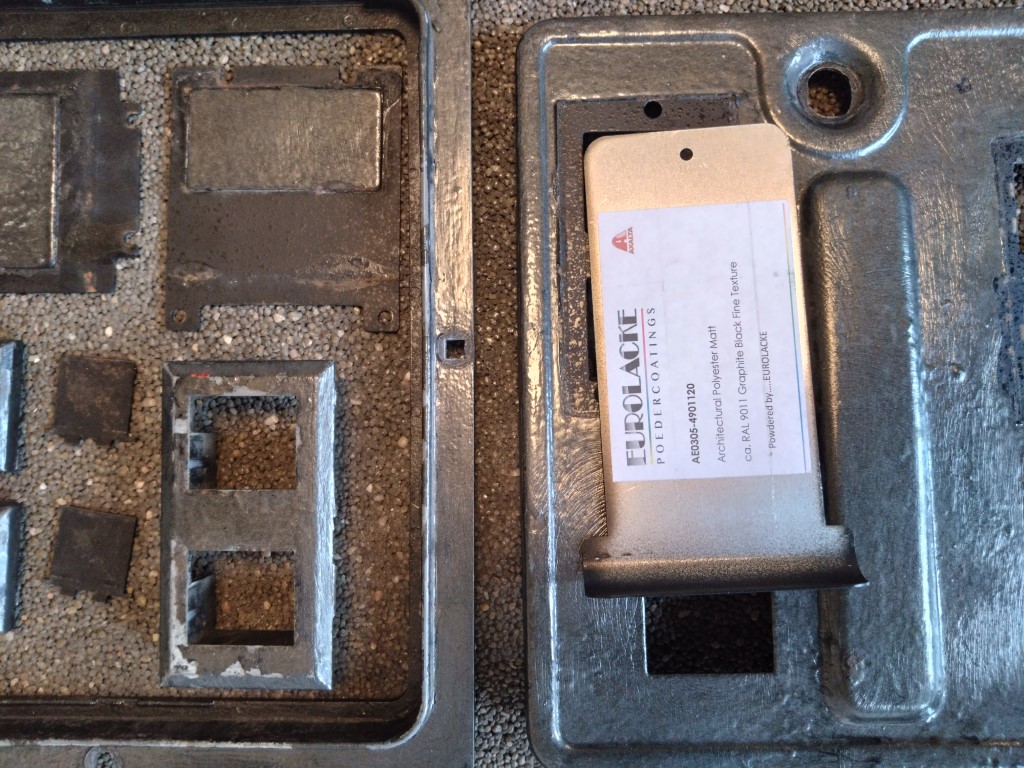
- Coin door: RAL9011 Graphite Black Fine Texture Matt
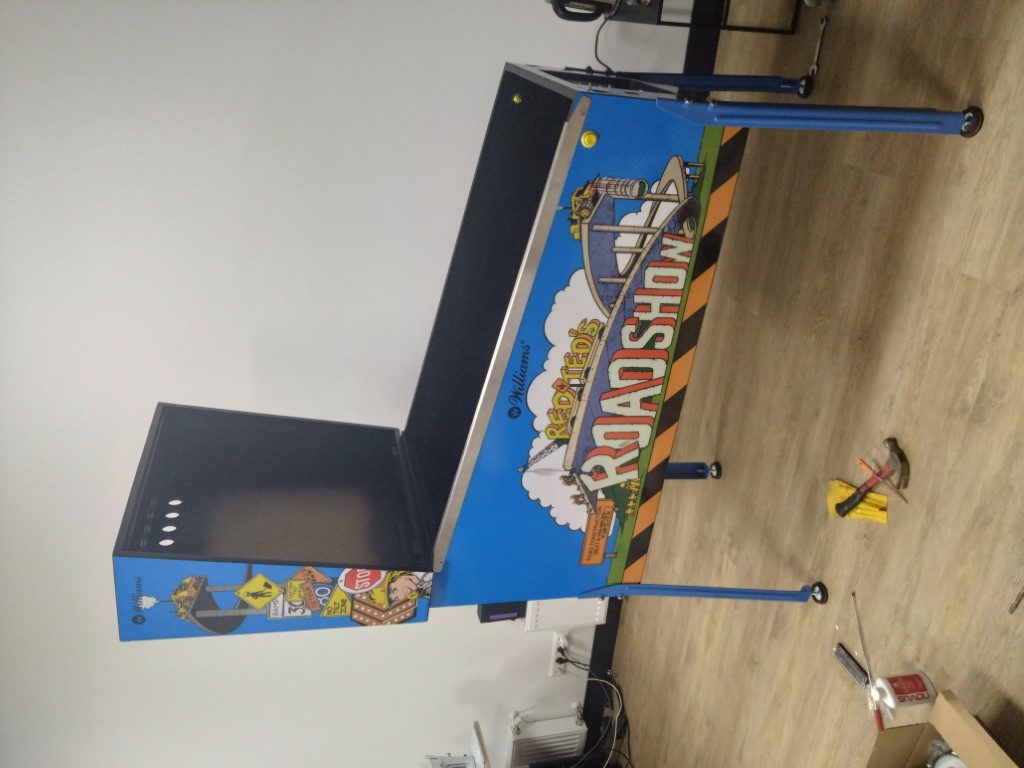
- Legs: RAL5015 Sky Blue Semigloss
- Various black metal bits: RAL9011 Graphite Black Semigloss
Removing the old decals
A heat gun, scraper and some teamwork made easy work of removing the old decals from the cabinet.
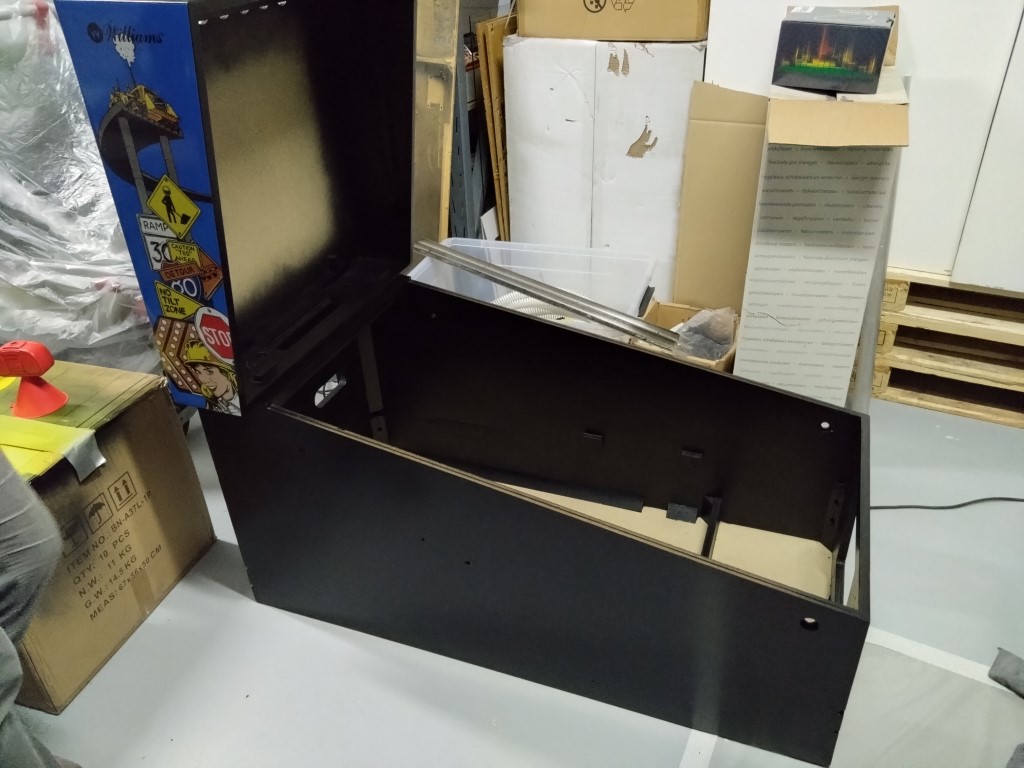
Reinforcing the cabinet
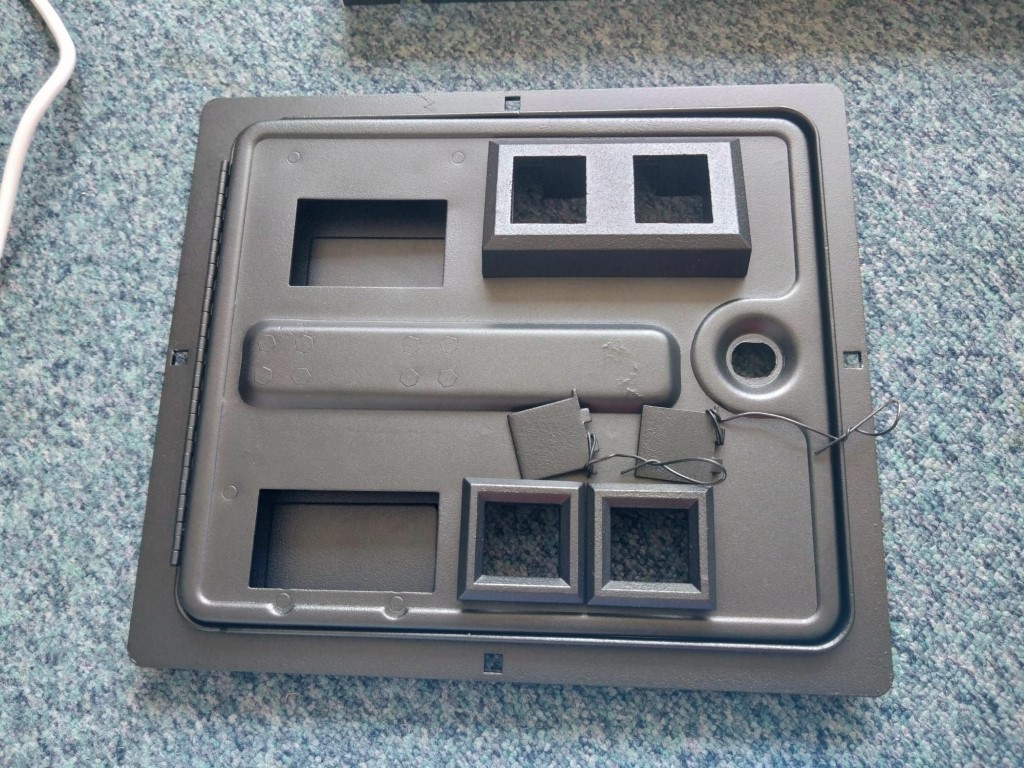
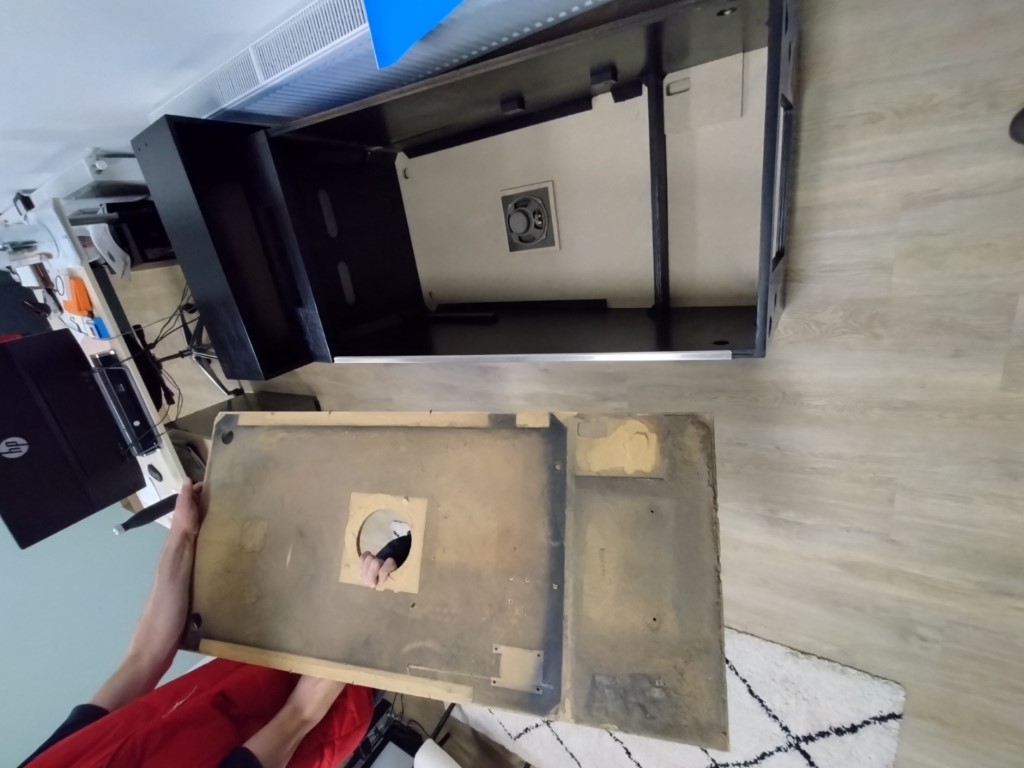
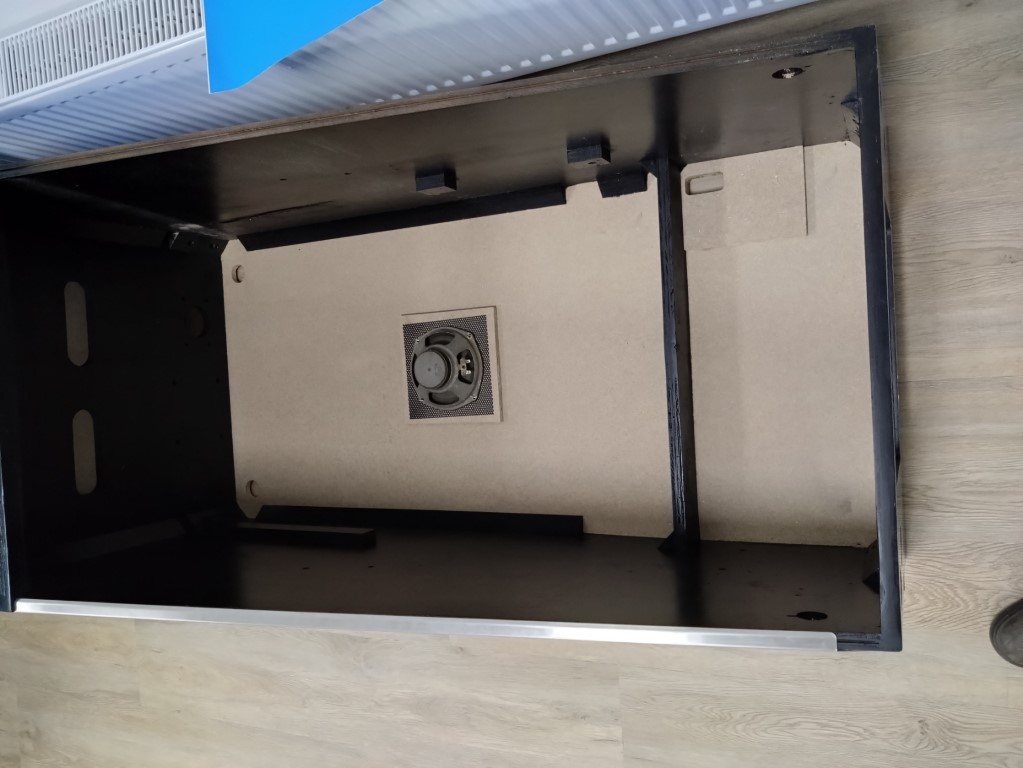
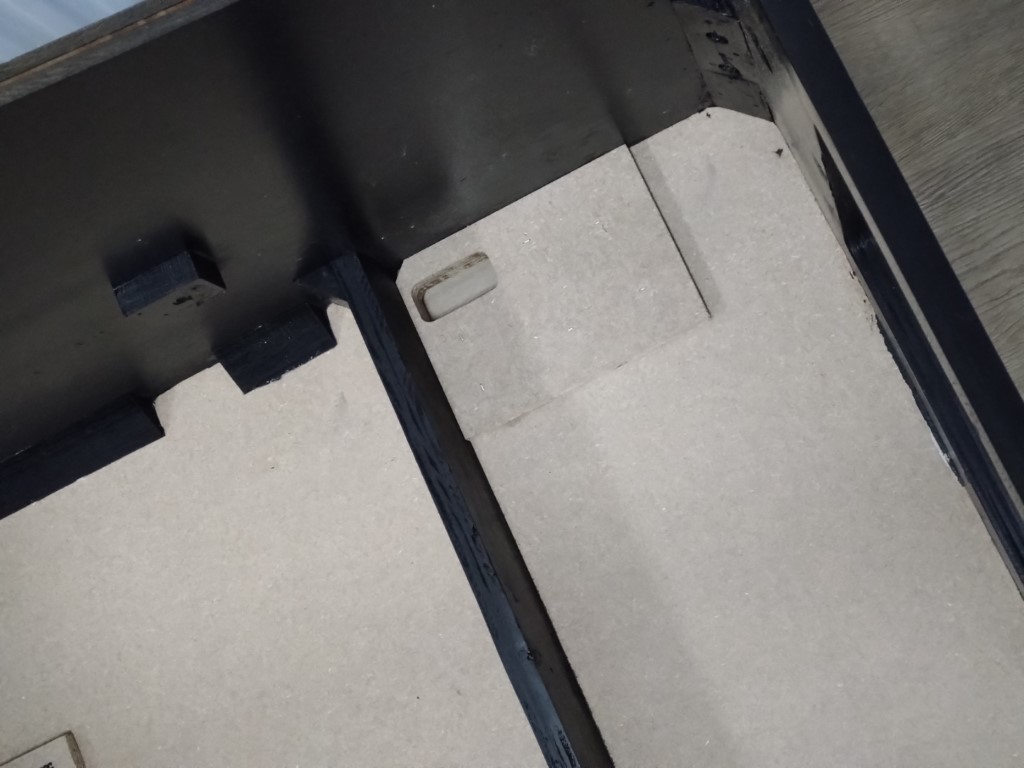
The cabinet was crooked and lacked structural integrity. Not to mention the bottom panel was all swollen up due to moisture. We replaced the bottom panel and carefully routed the hole for the subwoofer and holes for the power switch and ventilation holes.
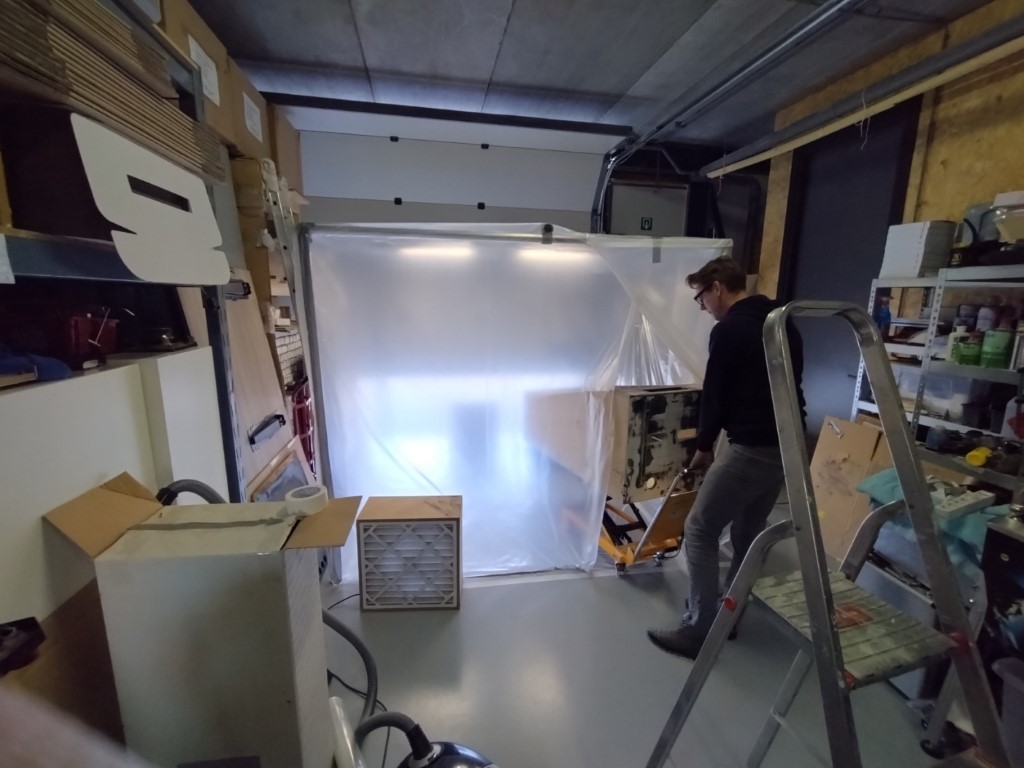
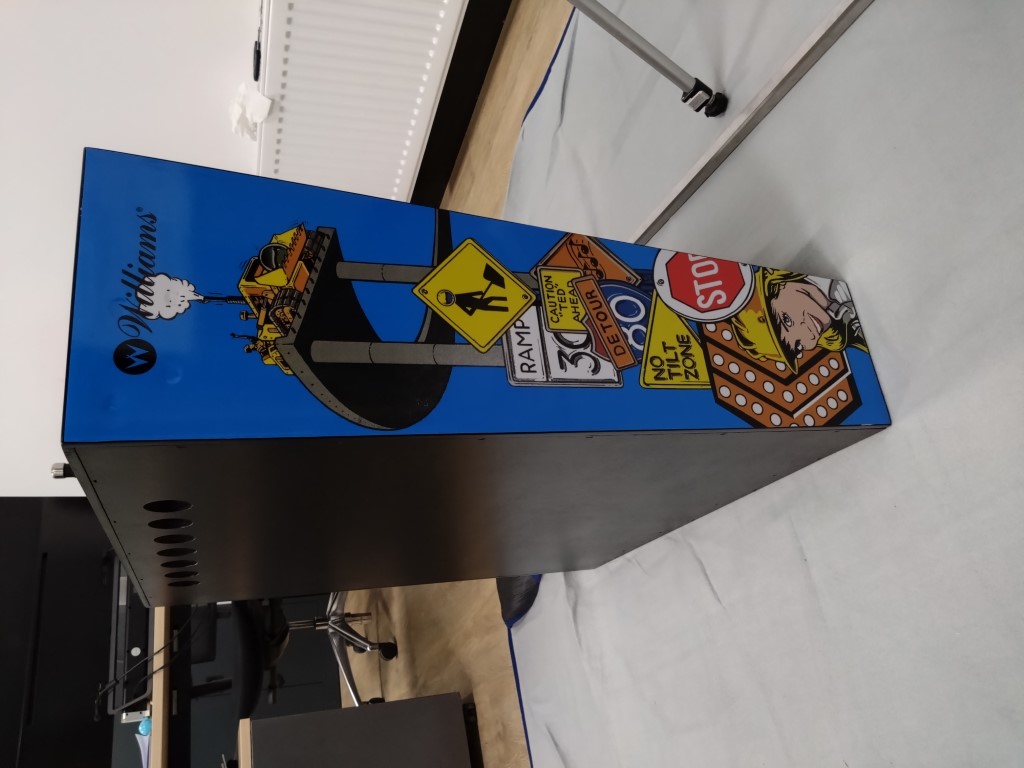
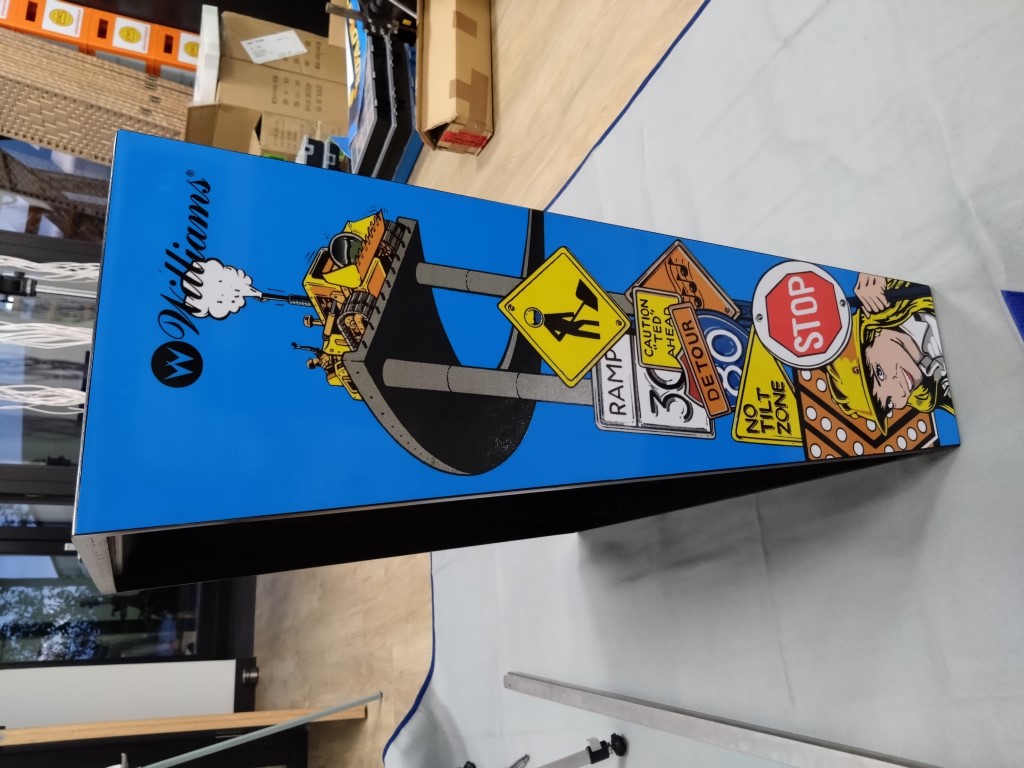
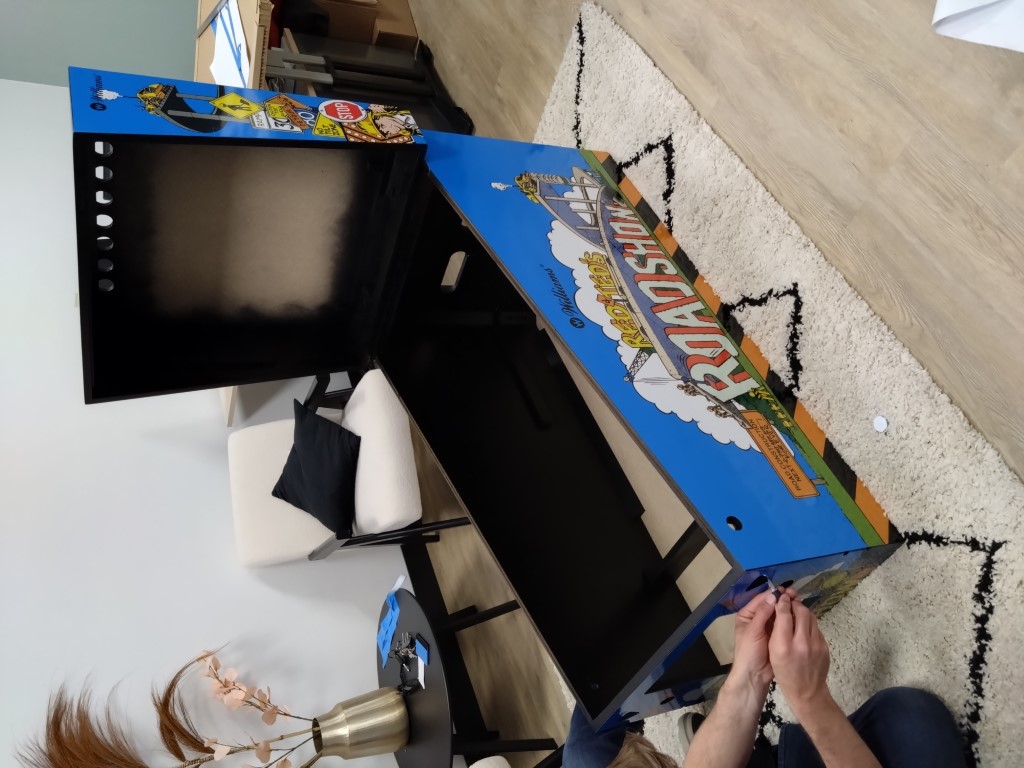
Sanding, filling, painting and applying new decals
Restoring the playfield
Biting the bullet: a new playfield
While the original playfield wasn’t that bad, it did require some work. And we figured, we already went this far restoring it, why not treat it to a new playfield as well?
Restoring a playfield is a lot of effort and prep if you want to clearcoat it as well. Reselling the old playfield and buying a new one is probably just as expensive as repairing and clearcoating the old one.
Reproductions are being made by Buthamburg, but they were out of stock.
When one came for sale on a third-party reseller we of course had to grab it.
Cleaning the wiring harness
Redoing the under-ramp decals
Repopulating the playfield
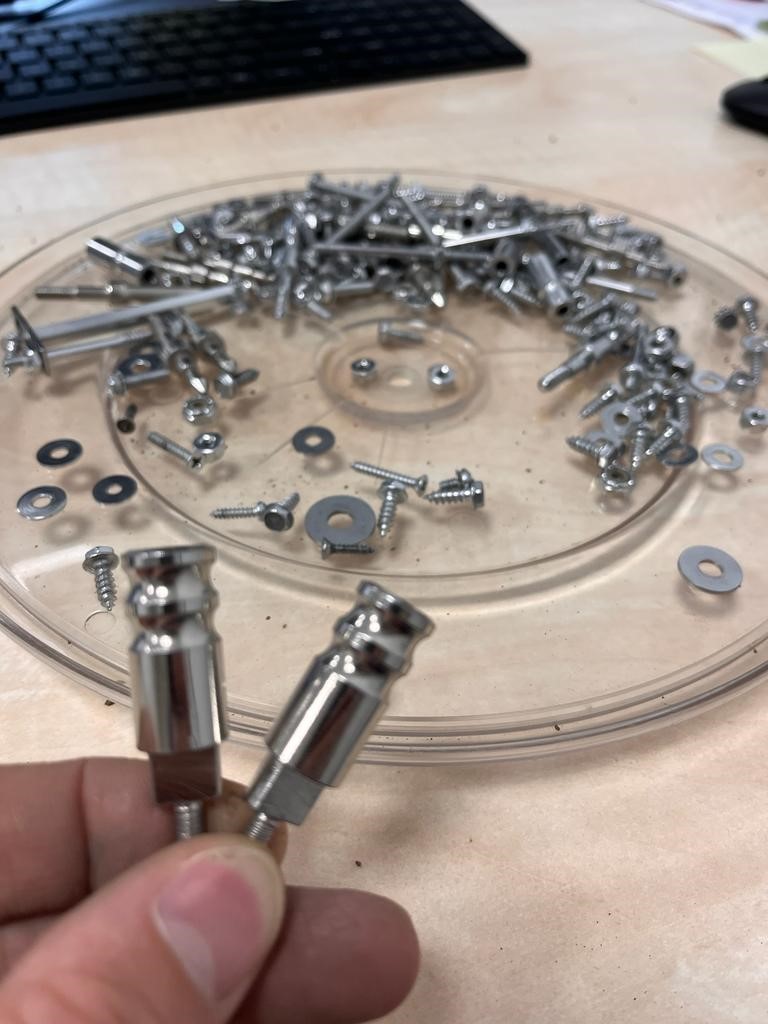
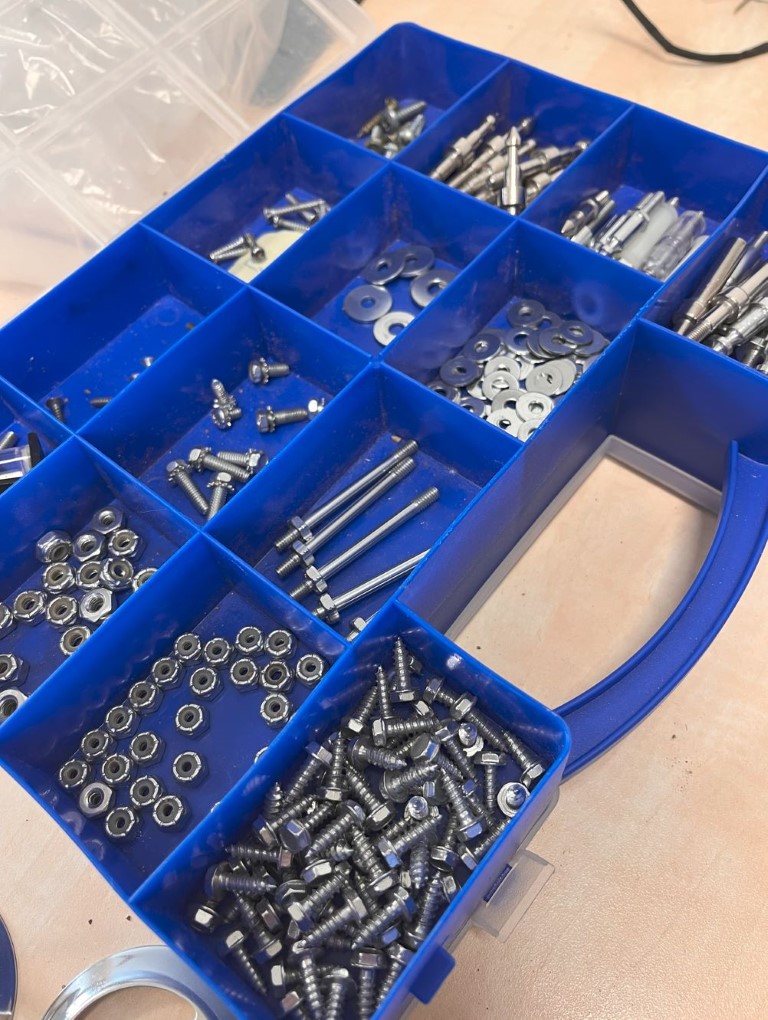
Most of the metal bits and screws have spent a few days in the tumbler and are super shiny again.
Ramps have been replaced with brand-new reproduction ones from Ramp-o-matic.
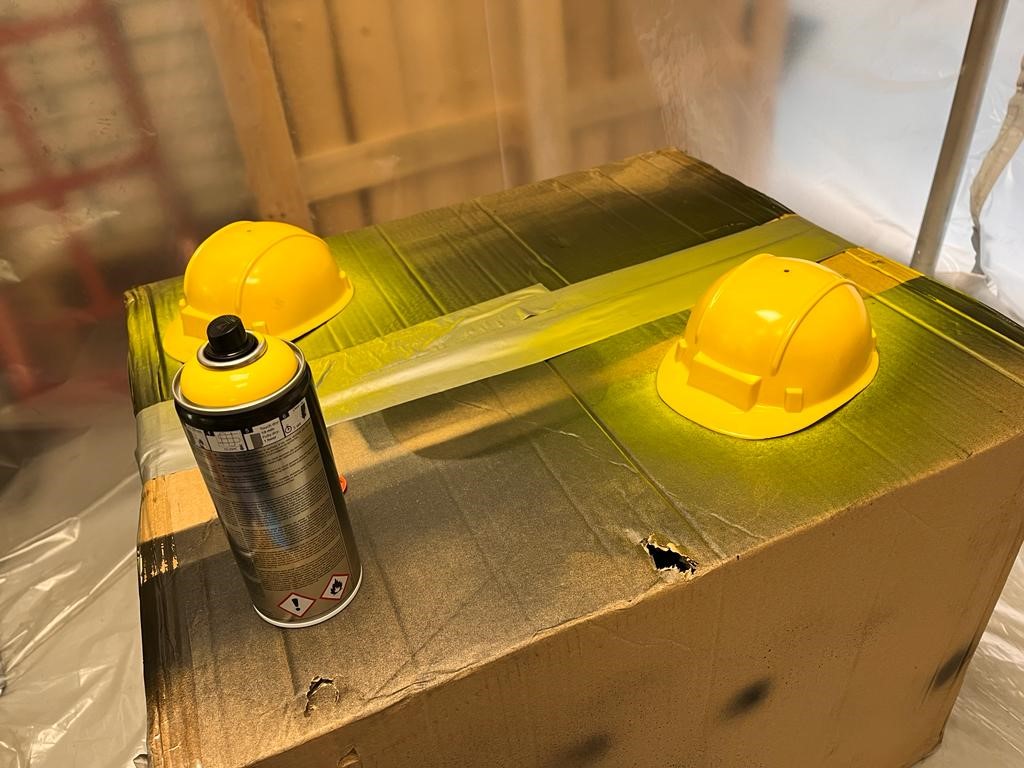
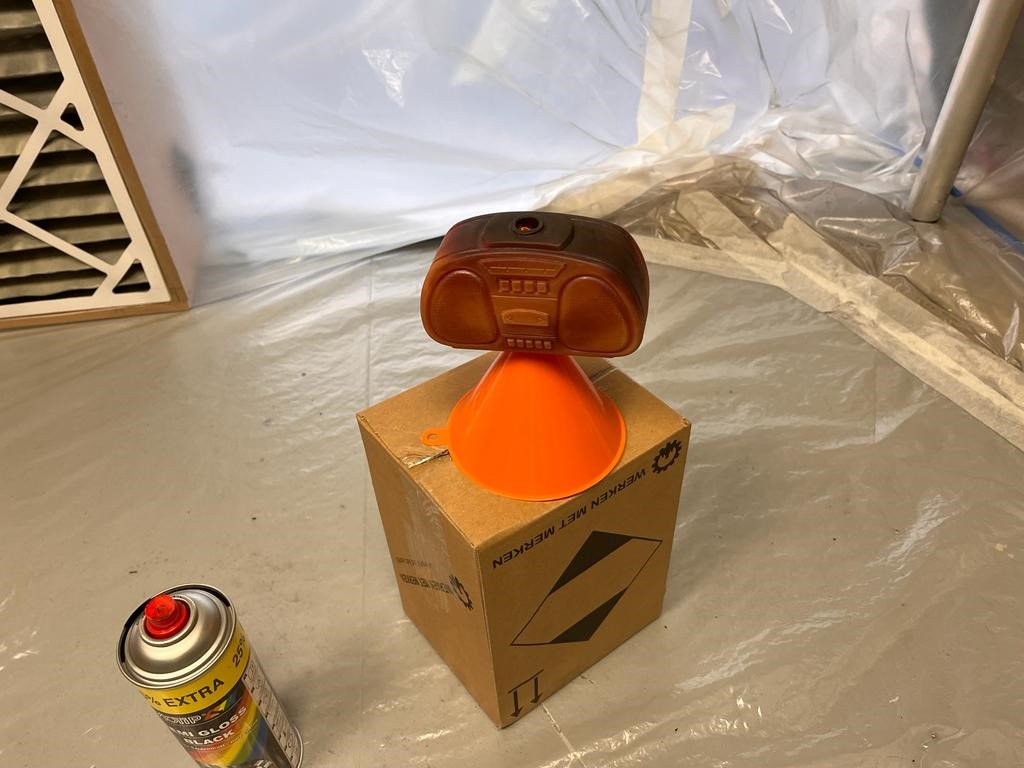
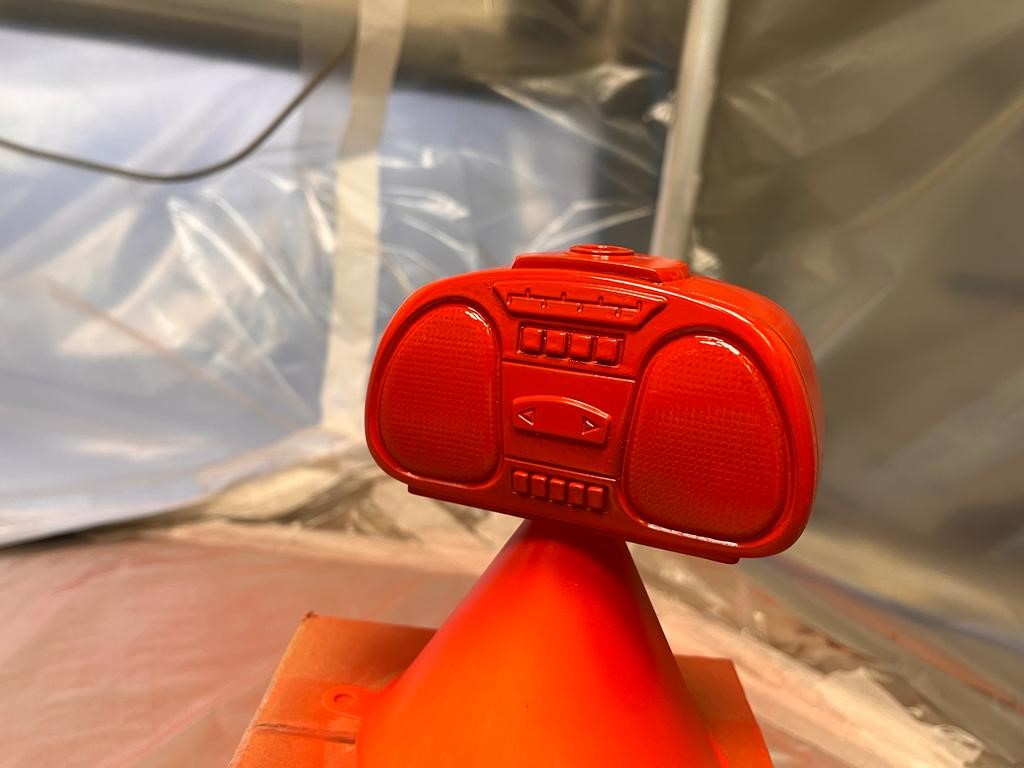
The radio, bulldozer and Red & Ted’s hardhats have been spray-painted.

Miscellaneous parts that have been replaced
- Lockdown bar receiver
- Flipper buttons, as they were the wrong color
- Start and buy-in buttons
- Shooter rod assemblies (they were mismatched and missing parts)
- Side rails
Things left to do:
- Decals on the apron
- Respray Williams-logo speaker grilles
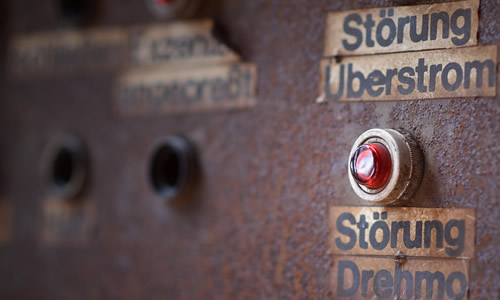
- Silkscreen warning text on the backbox
- Various warning and information stickers on the inside of the cabinet
- Various small electronic issues, such as switches that register intermittently
Final result & conclusion
While there are still some things left to do, here are some videos of the machine in action:
This machine definitely exercised and tested all of our skills in the categories of woodworking,
painting, electronics, metalworking (and patience). And in the end it probably would’ve been a lot more cost-effective to have bought a better example of one these machines, not even accounting for the enormous amount of time spent on it.
But time and money are somewhat irrelevant when it’s a hobby, and you’re having fun. And now we have a machine with a “story”, that looks and plays great, and will probably never leave the collection. This is sort of our pièce de resistance, if you will.
Next project: Williams F-14 Tomcat