A few years ago I moved all standalone WordPress sites of my customers into a single WordPress multisite installation on my own VPS. This was all working perfectly fine, and made updating and maintaining the sites a breeze. But the Ubuntu installation that the VPS was running on became outdated, and updating it to a recent version gave all sorts of trouble. Apart from that, some other issues arose with the server, causing issues with DNS records and e-mail delivery.
After some consideration, I figured I didn’t really need the VPS anymore, and a reseller hosting plan would be sufficient and a lot more cost-effective. I also wouldn’t have to worry about maintaining the server anymore.
I quickly ran into issues trying to move the multisite environment to the reseller hosting package though. For one, it wasn’t possible to create e-mail accounts for domains added as an alias. On the VPS I had the customer domains set as an alias for the main multisite domain and mapped them within WordPress to their respective sites. But they could still have an e-mail address or forwarder with their own domain name.
I decided to break things apart again and give every customer their own account within the hosting package, and make their sites standalone WordPress installs again. But as you might expect, taking a site out of the multisite and converting it to a site that can stand on its own feet could be a bit tricky.
First (failed) approach: Using WordPress Import and Export
I found a guide by Cloudways that took the approach of zipping the plugins and themes folders from wp-content, and exporting the site data using the built-in WordPress exporter. Then to set up a new WordPress site on the destination, extract the ZIP files, and import the XML. This gave all sorts of trouble though, and wasn’t really a 1-on-1 copy of the old site, with all kinds of stuff missing. The import gave a 500-error halfway through and the site didn’t work at all.
WhY DoN’t U JuSt UsE a MiGrAtIoN PluGiN?
Some of you might be screaming, why don’t you just use a migration plugin?? And that might work(?). But I must admit I have never used one of those plugins. When you know how to migrate a site the “old school” way, by simply copying the files and database from the old to the new location, you wonder, how can a plugin possibly do a good job of this? I’m a firm believer that things like migration, security, backups and optimization should be done at a lower level, not at the application (WordPress) level.
Copying the entire multisite install to the new location
The approach taken by this Pressable guide was to copy the entire multisite install to the new location, to then remove all the unnecessary stuff, and to then turn it back into a single-site install. I must admit that I was skeptical of this approach at first, but after some testing, I think this is the way to go! That article is a bit barebones though, and I have some useful “in-the-field” tips and tricks to add. Let’s get started.
Prerequisites
Source host
- FTP access, SSH is not required but useful for zipping the site content
- Access to database manager like PHPMyAdmin
Destination host
- FTP access
- SSH access
- wp-cli
- Access to database manager like PHPMyAdmin
Preparing the multisite for migration
Start by zipping the contents of the entire public_html directory on the source host. From the parent directory, run the following command in SSH:
zip -r export.zip public_html
Then download this zip file to your computer and remove any unnecessary stuff from it to lower the file size (like the W3 Total Cache cache folder in wp-content). In software like 7-zip or WinRAR you can simply hit delete on those folders, and it will remove them from the archive.
Export the database through your hosting control panel or PHPMyAdmin. Enable compression if available as the file may otherwise be very large.
Preparing the destination
Upload the “cleaned” zip file to the directory above the public_html directory on the destination host. Unpack it through SSH using the following command:
unzip export.zip
Create a new database and import the database export file.
Find the blog ID
In PHPMyAdmin on the destination host, navigate to the {prefix}_blogs table and determine the ID of the blog you want to import and note it down:
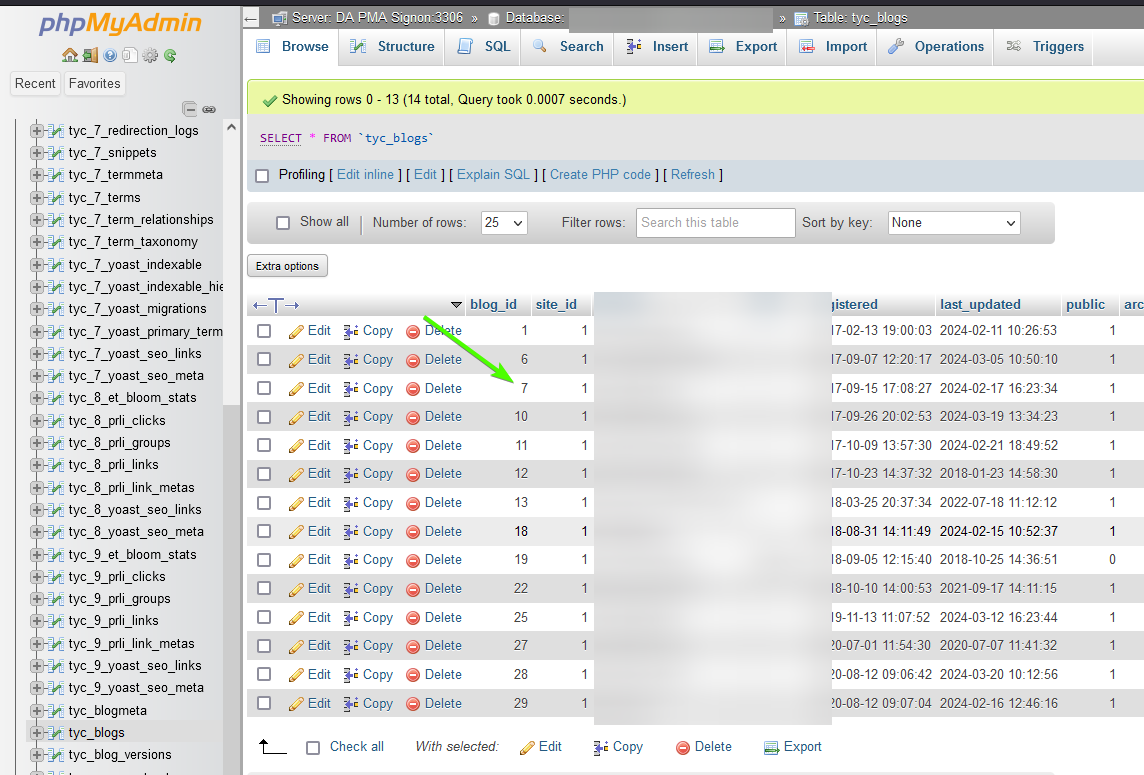
In the case of this article, we’re going to migrate the site with ID 7.
Modifying the database
All that is needed to make the database work for the single site install is to rename the {prefix}_users and {prefix}_usermeta tables.
Open both tables, and on the “Operations” tab, rename them to include the ID of the site:
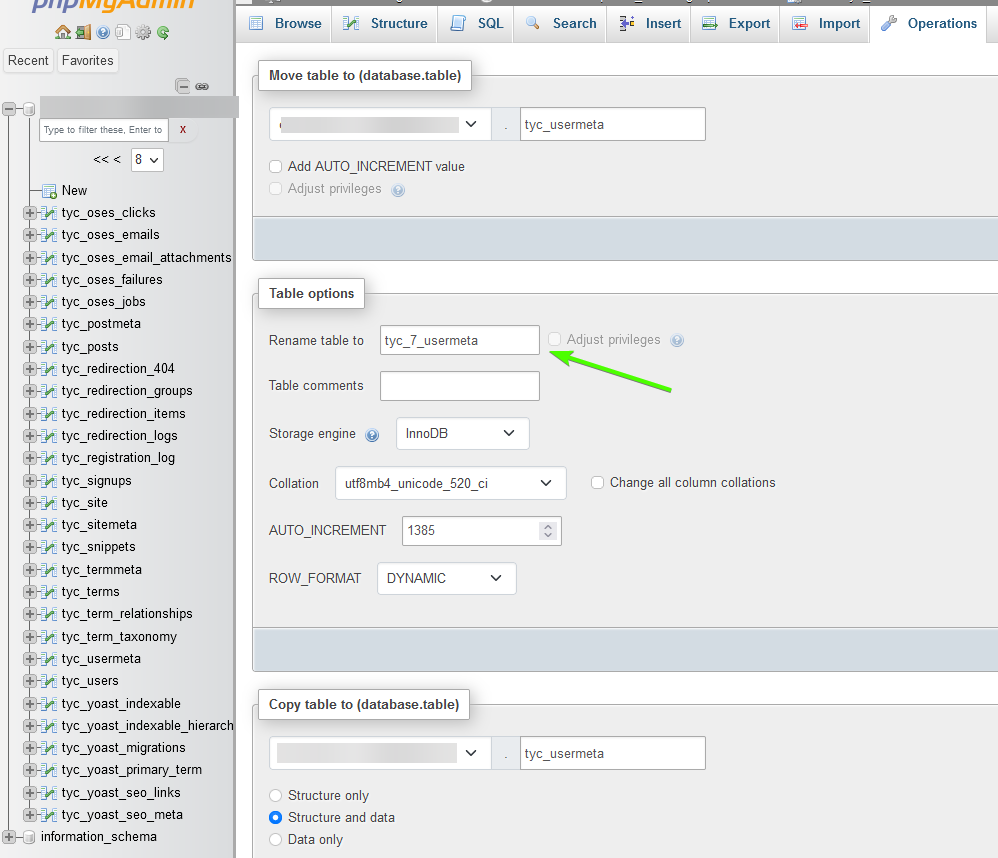
So in this case, tyc_usermeta to tyc_7_usermeta and tyc_users to tyc_7_users.
Cleaning up the database
You can now delete (drop) all other tables and only keep the ones with the tyc_7_ prefix. Again, make sure you do this on the destination PHPMyAdmin 😁 And you did make backups didn’t you??

Moving the media
Each site in the network has its own media folder within the wp-content/uploads/sites folder. What is in the root of the uploads folder is the media for the main site of the network.
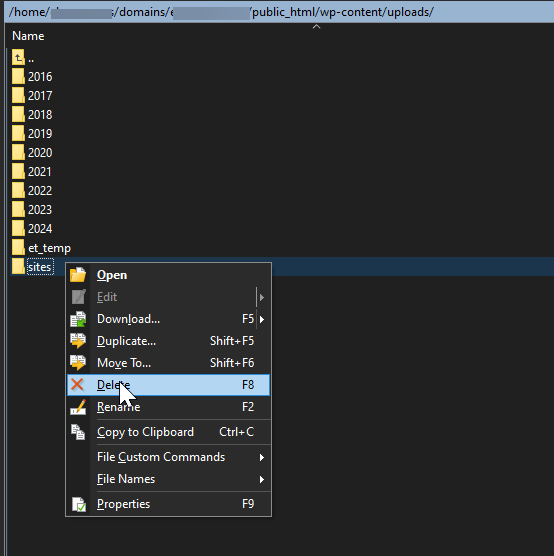
Let’s start with some cleanup first. In your FTP program, navigate to the wp-content/uploads folder on the destination host and delete everything but the sites folder:
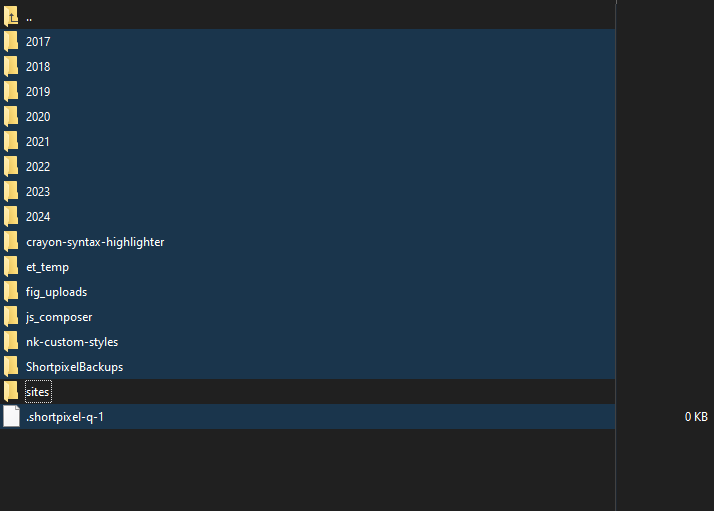
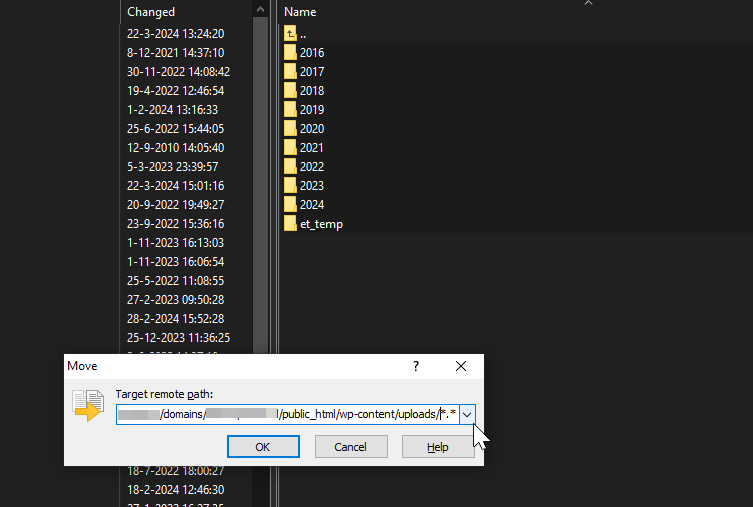
Then, go into the sites folder and open the folder with the ID of your site. Move all the contents within to the root of the uploads folder.
You can now delete the sites folder as well:
Updating wp-config.php
We need to make some changes to the wp-config.php file in order for everything to work. First, update the database credentials to match those of your destination database.
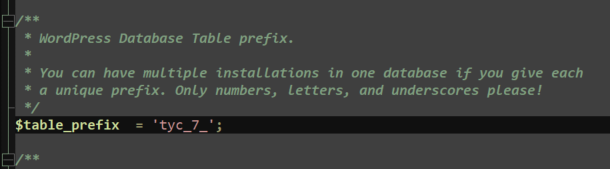
Change the $table_prefix to include your site id:
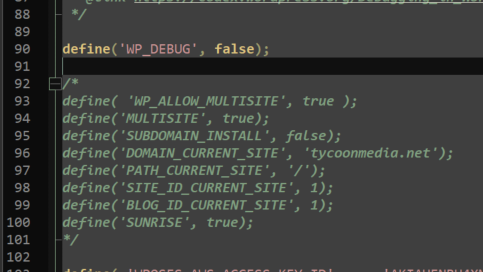
Comment out or delete the multisite constants:
Updating media locations in the database
The site should now be -partially- working on the destination host. But references to the uploaded media in the database will be incorrect because we moved them. So we will need to update those.
Luckily wp-cli has a handy command that makes easy work of this: wp search-replace
Open SSH and cd into the root directory of the site (so public_html in this case). Run the following command to search and replace all occurrences:
` wp search-replace ‘uploads/sites/7/’ ‘uploads/’ –precise –recurse-objects –all-tables`
(where you should obviously replace the 7 with the site ID that you’re working with)

Bonus: Updating the site URL
If you’re moving the site to a new URL you’ll need to update all references to that as well:
wp search-replace 'theoldurl.com/subfolder/' 'thenewurl.com/' --precise --recurse-objects --all-tables
I had actual domains mapped to my multisite install but in some cases the media was actually still pointing to the subfolder on the multisite root domain. In that case you can run the command from above as well to fix those.
Obviously change the URLs in the command to your specific situation. And make sure you have the trailing slash in both strings.
Bonus 2: Previewing the site on the new location
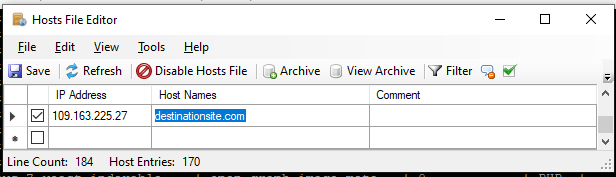
To easily preview the site on the new location you can adjust the HOSTS file on your computer to point the domain to the new host. I use a convenient program for it called Hosts File Editor (what a descriptive name huh?).
Enter the IP address of the destination host and the domain name and hit save:
Now when you open or refresh the site in your browser, it will be served from the new location (and you’ll probably be greeted by an SSL error which you can ignore for now). Now you can confirm everything works correctly and make any changes if necessary .
If everything is working on the destination, you can update the DNS of the domain and the migration will be seamless.
Don’t forget to remove or disable the entry within Hosts File Editor afterward.
Done
And that’s how you seamlessly migrate a site from within a multisite environment into a standalone WordPress install. Given the length of this article it might seem a bit daunting, but it is actually a pretty quick and easy process, and it has given me little trouble with the sites I have migrated so far.